Custom Mechanical Keyboard
2020-08-19
Sooo I have been talking about building a custom keyboard from scratch for the longest time, and finally put the order in during quarantine. I chose a Ten Key Less (TKL) layout, hot swappable PCB, and Gateron Brown switches. I will link the exact parts/ stores I ordered from below. The total for my keyboard was around $170, but it did take almost two months for all the parts to ship. Overall, I am very happy with the final build :)
Build
Step 1 - Order
Do you research on what size/ layout/ switches/ etc that you want for your keyboard and place orders for those parts. Essentially, there are six components you need: Case, PCB, Switches, Mounting Plate, Stabilizers, and Keycaps. This is a really good tutorial to follow along.
Step 2 - Check
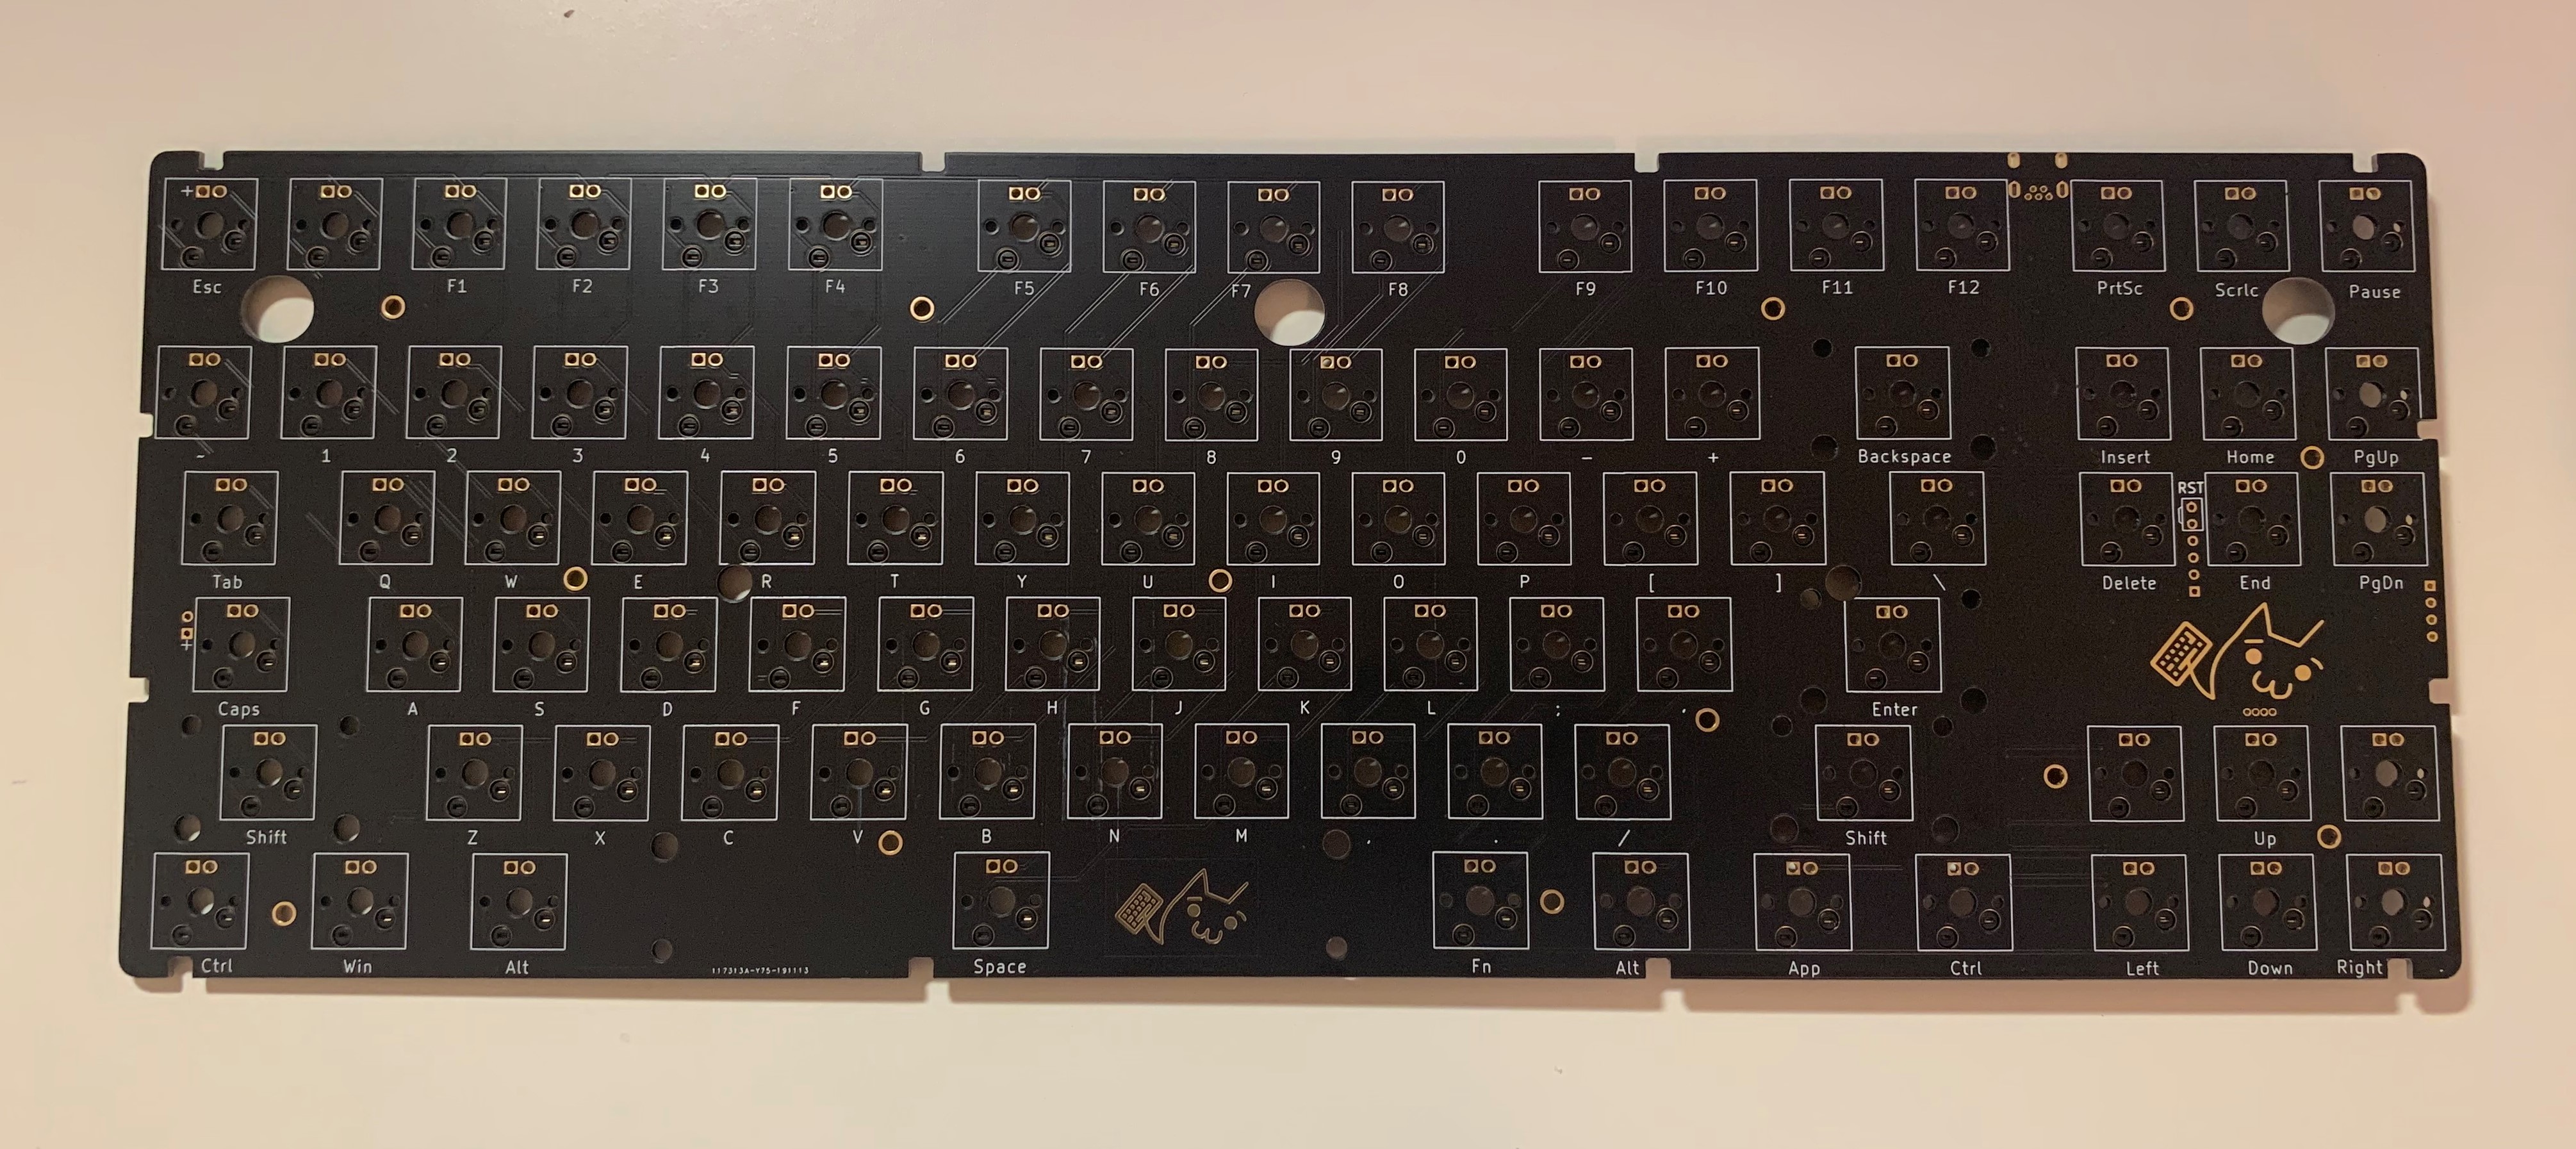
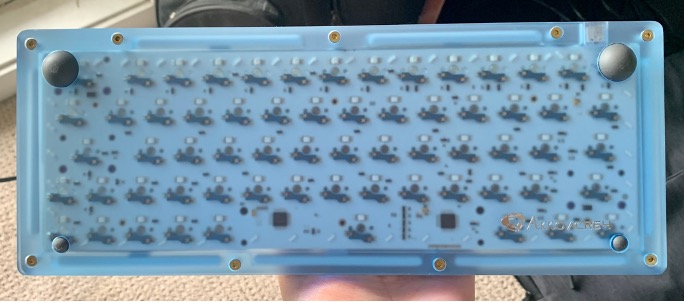
When the parts arrive, you first have to check that there are no defects. Specifically, there are softwares that either come with the PCB or can be found online, used to check that the PCB is printed properly. If everything looks good, you can move on to building the keyboard.
Step 3 - Build
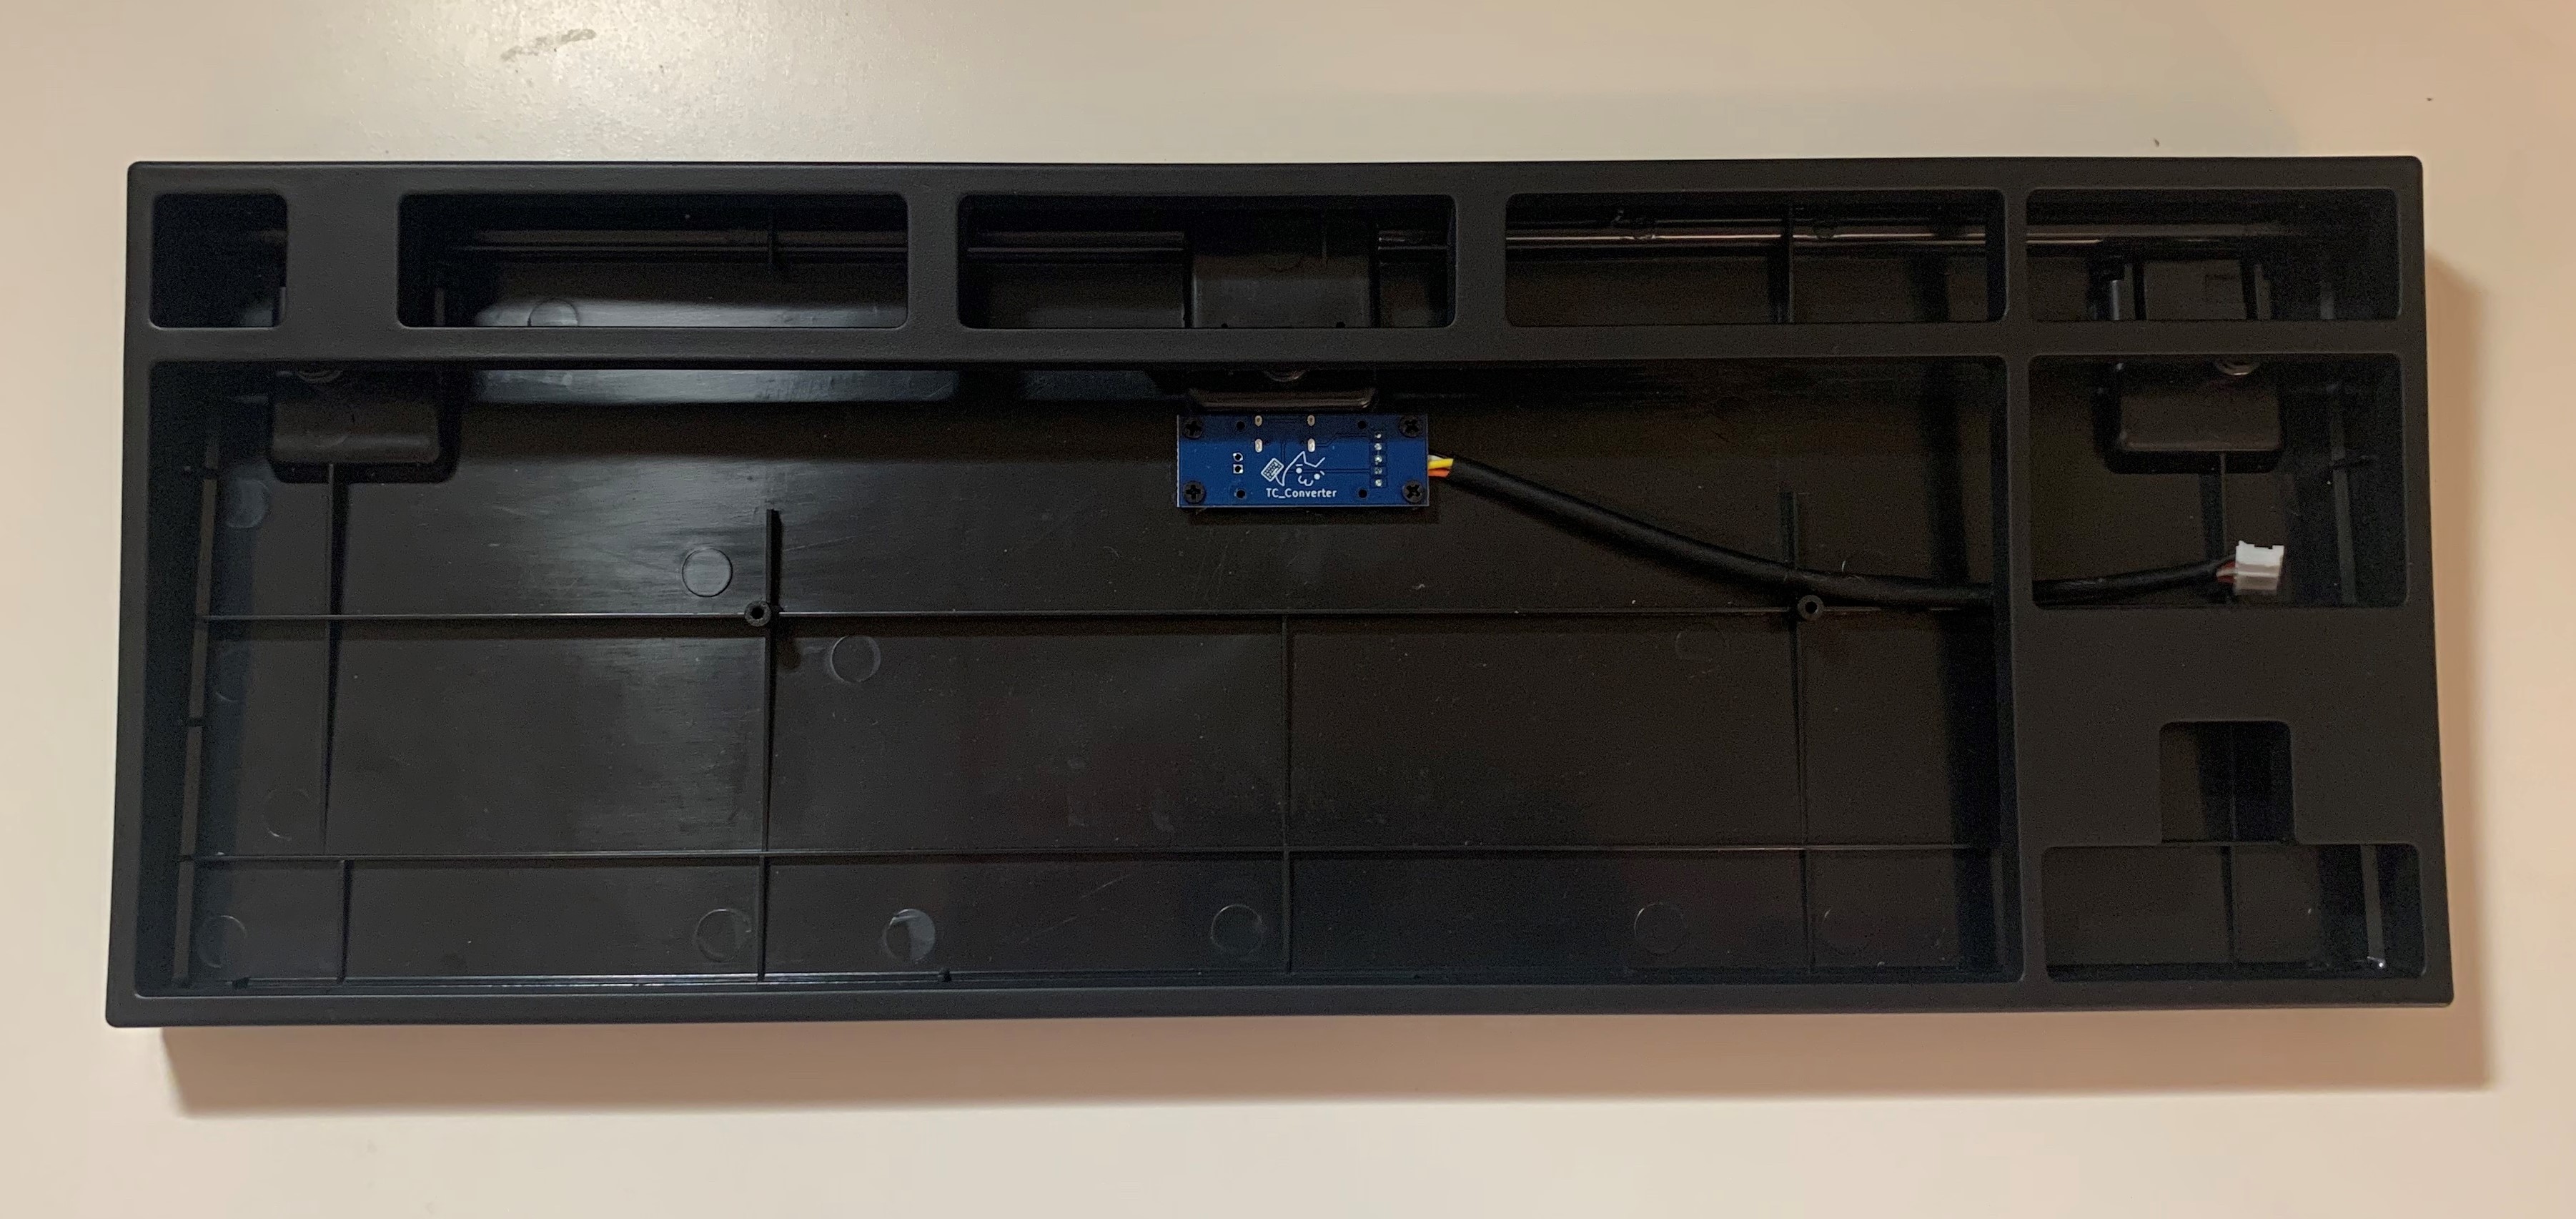
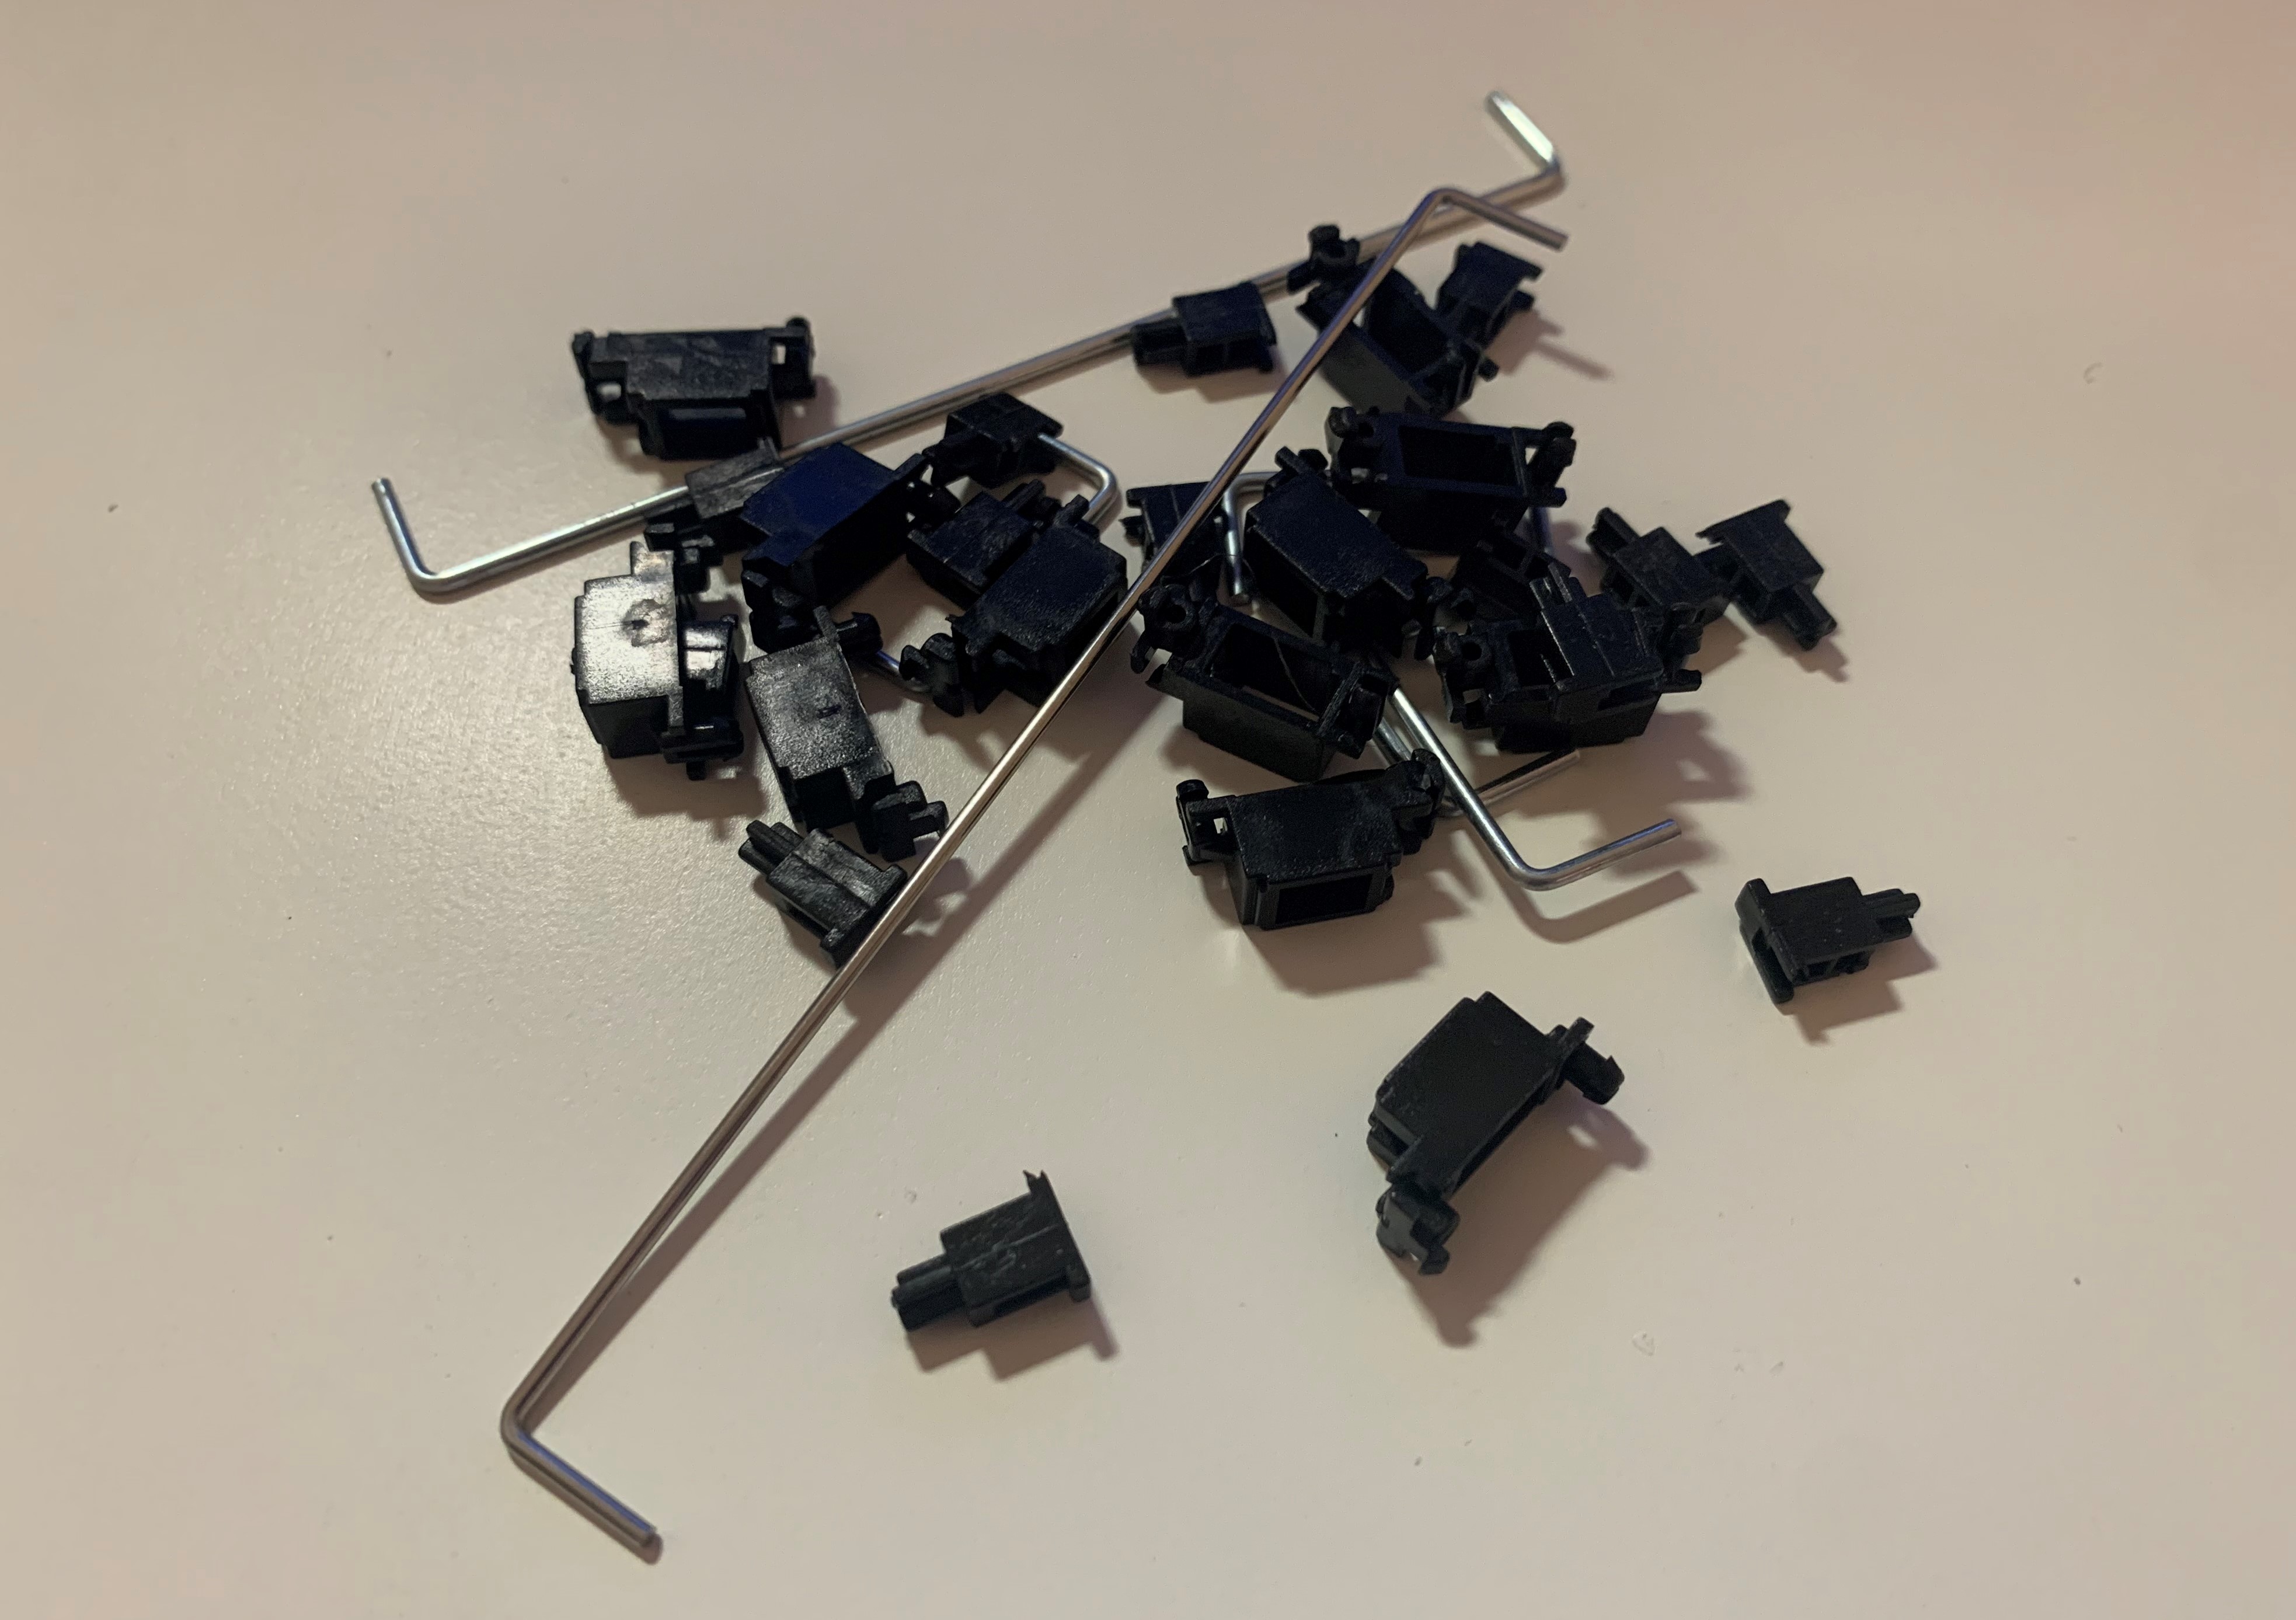
1) Separate case into top case and bottom case
2) Assemble stabilizers (tutorial here)
3) Insert stabilizers into PCB (if yours are PCB mounted too)
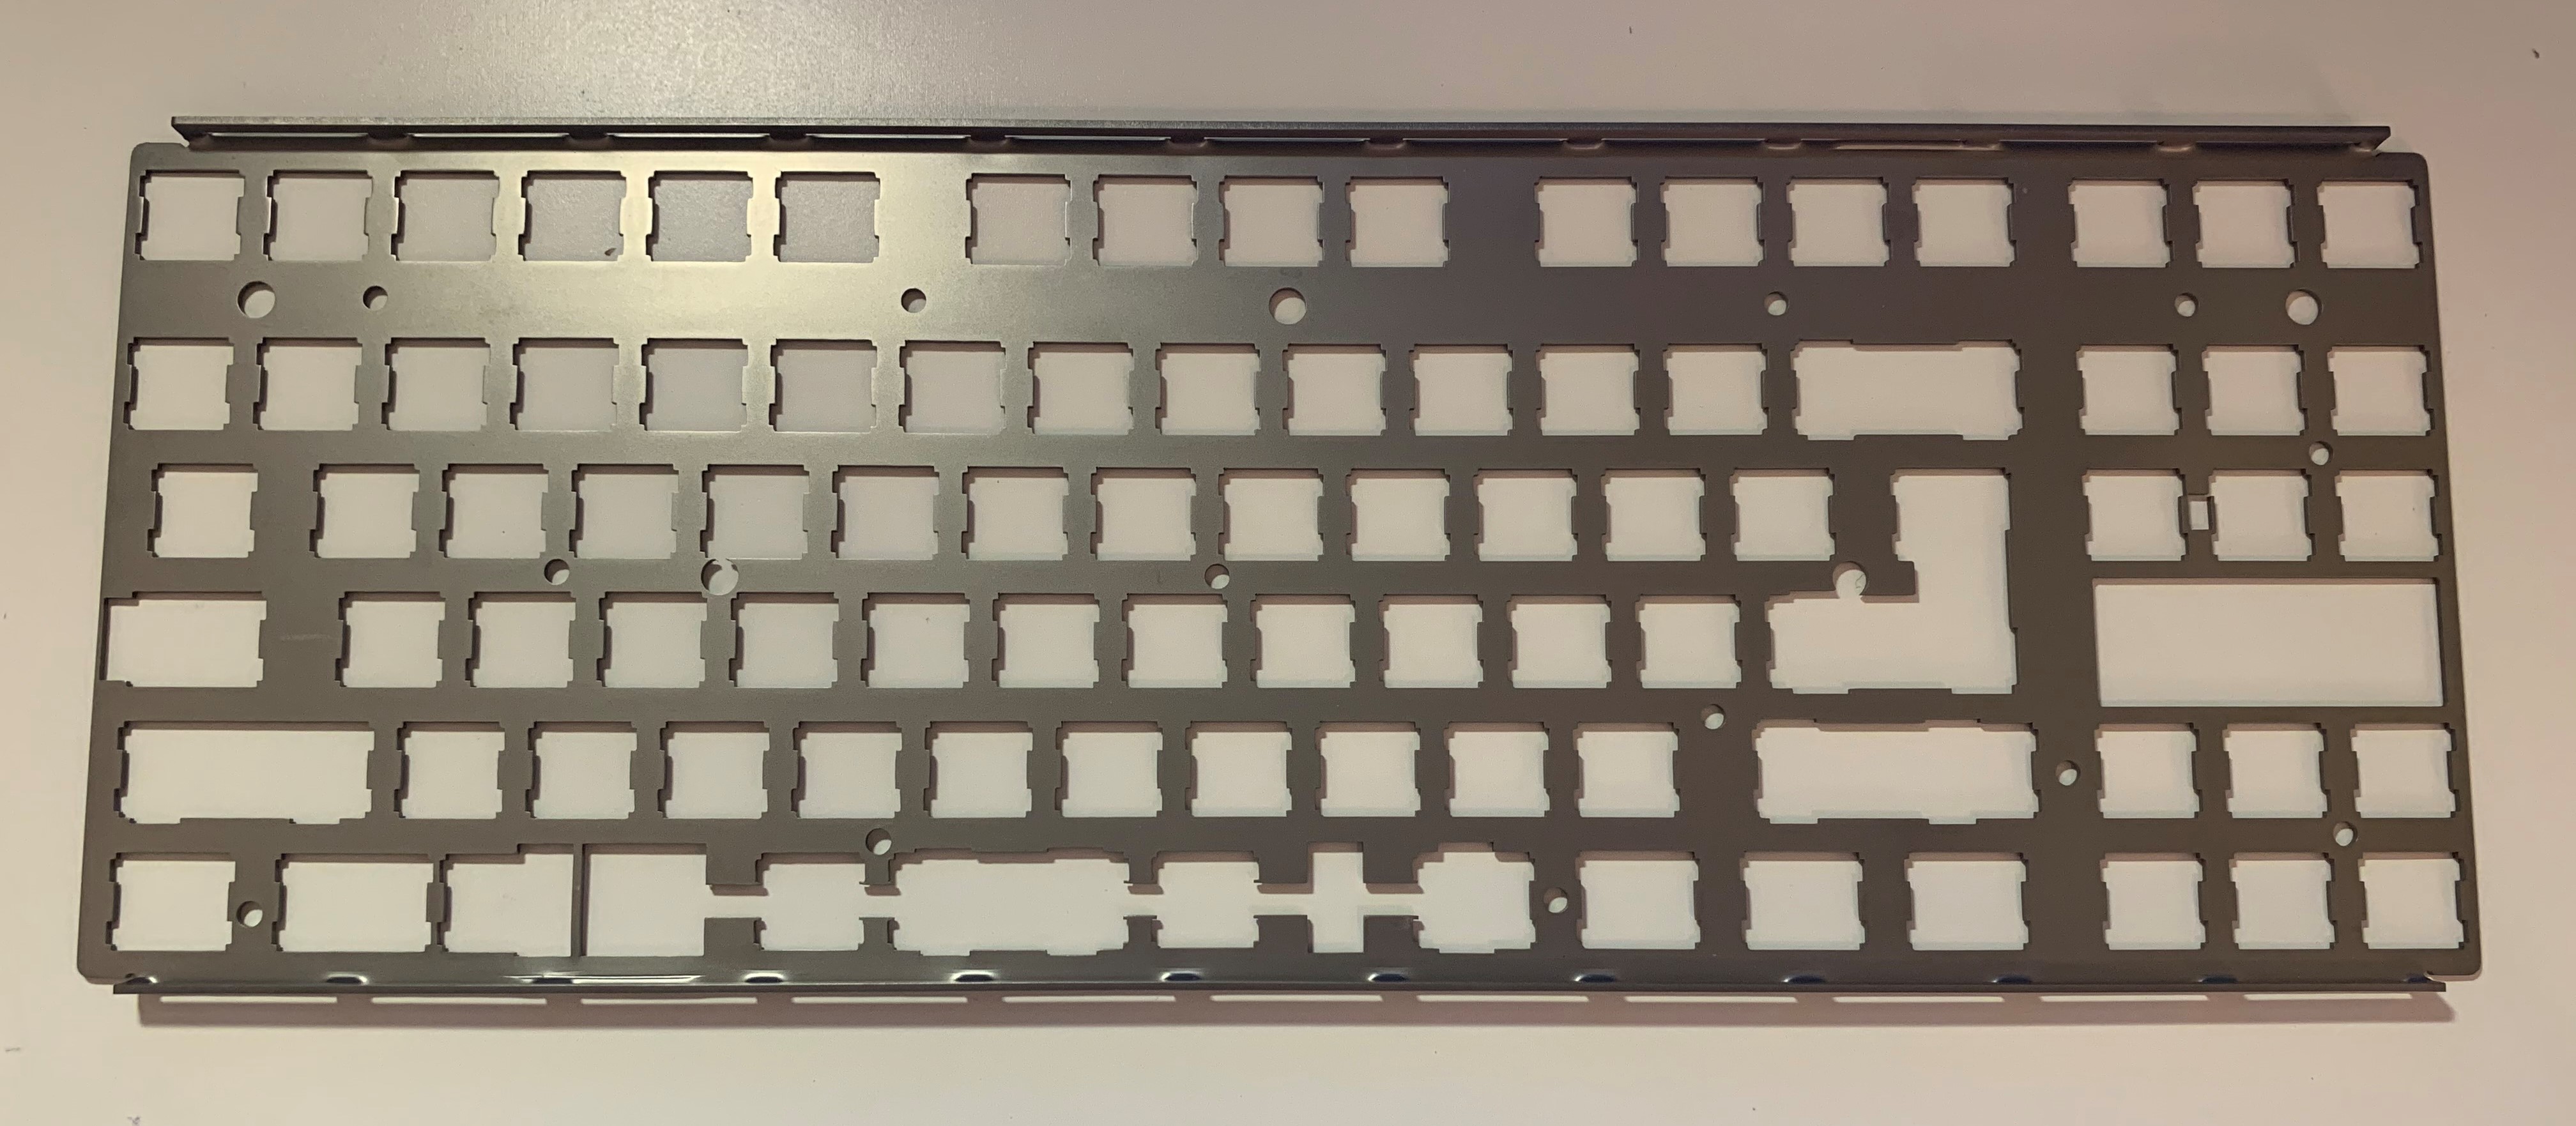
4) Align plate on top of PCB
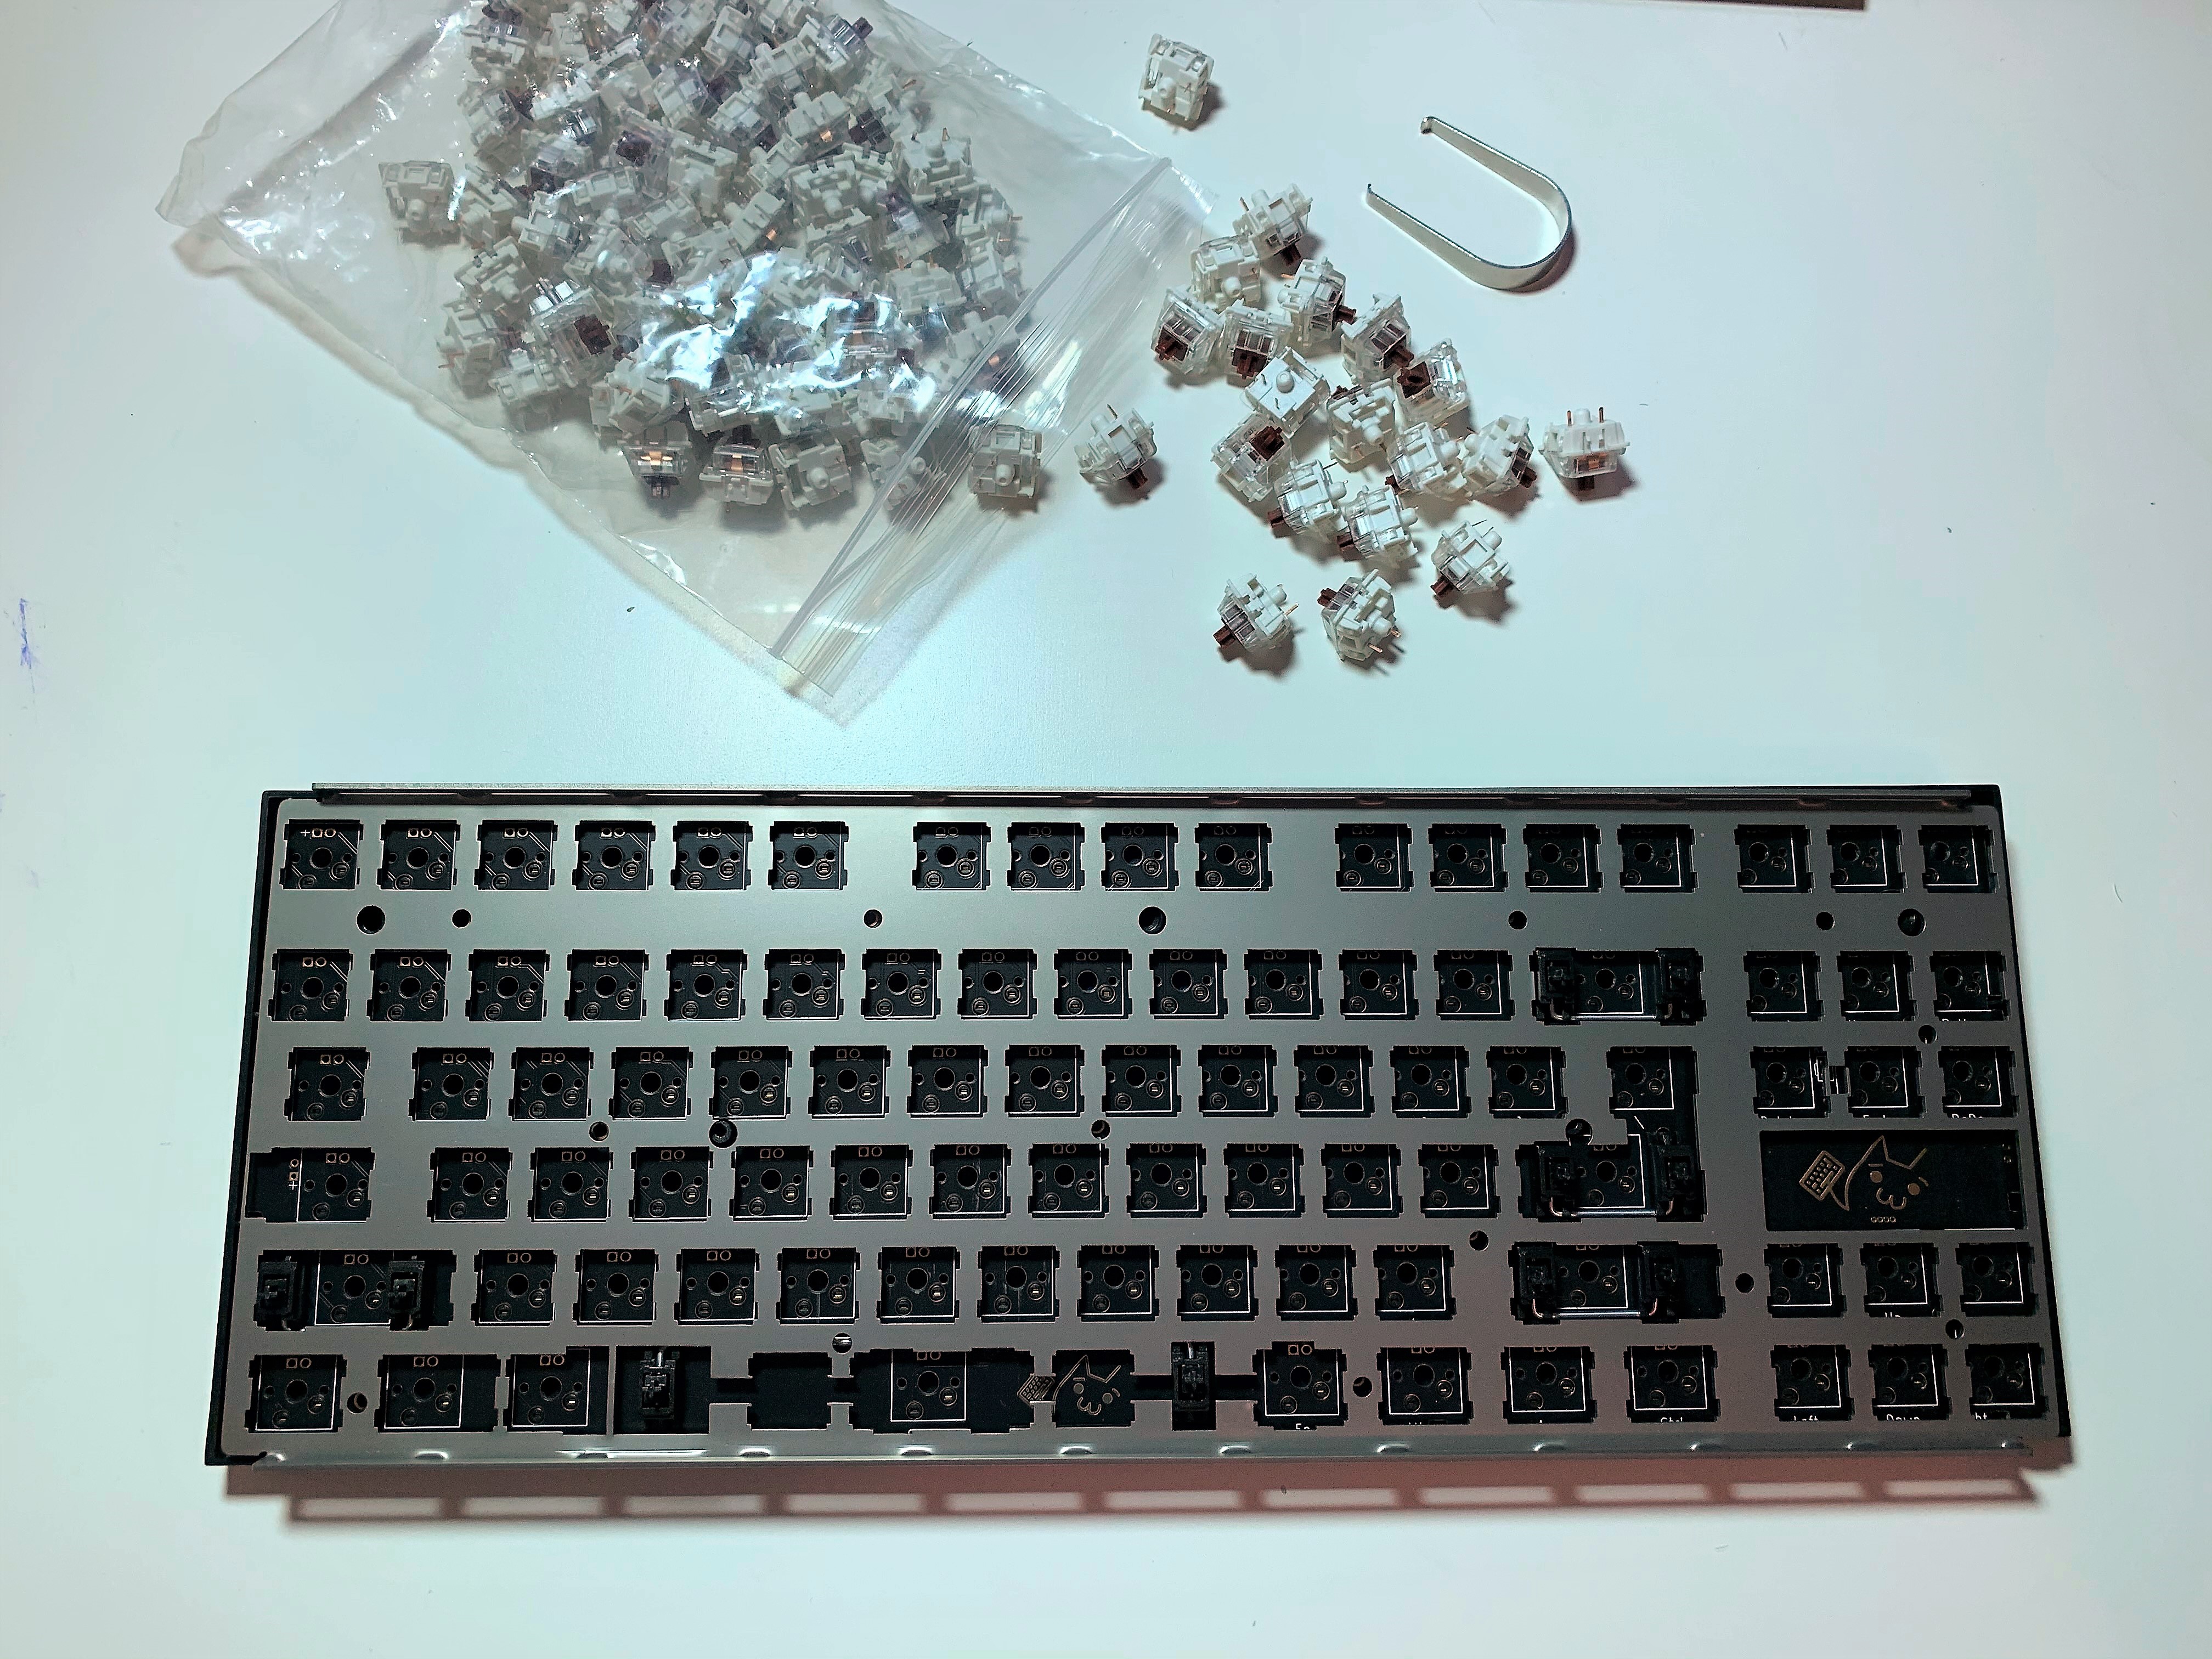
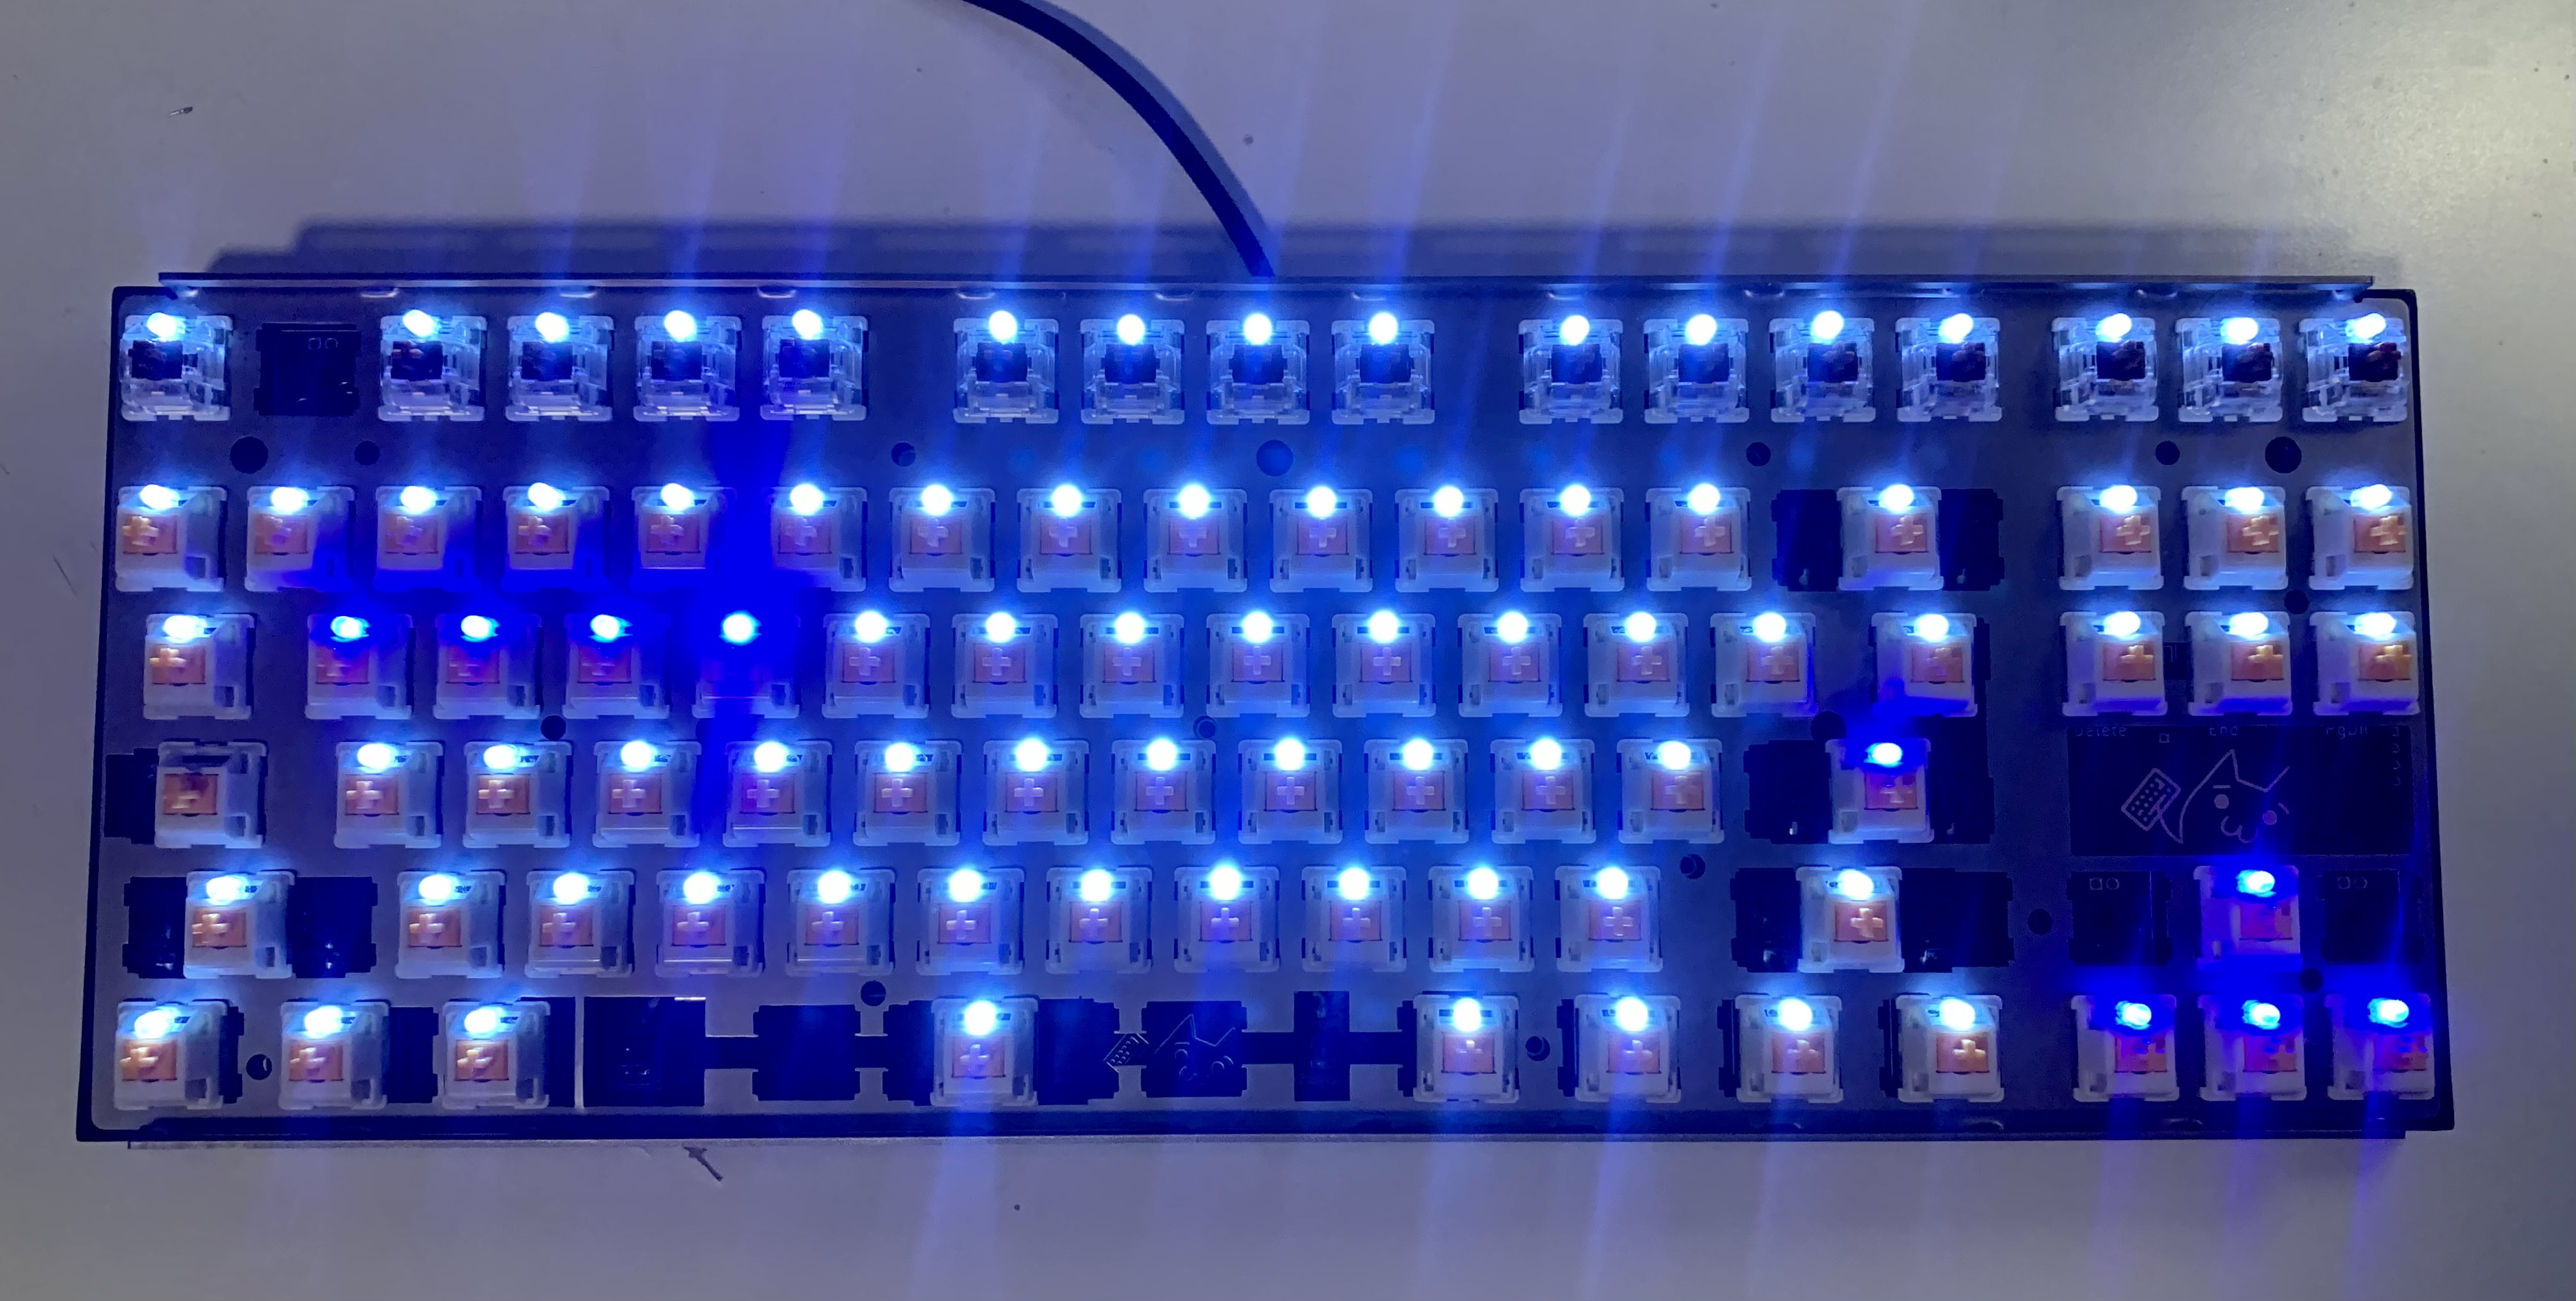
5) Insert switches into plate and PCB
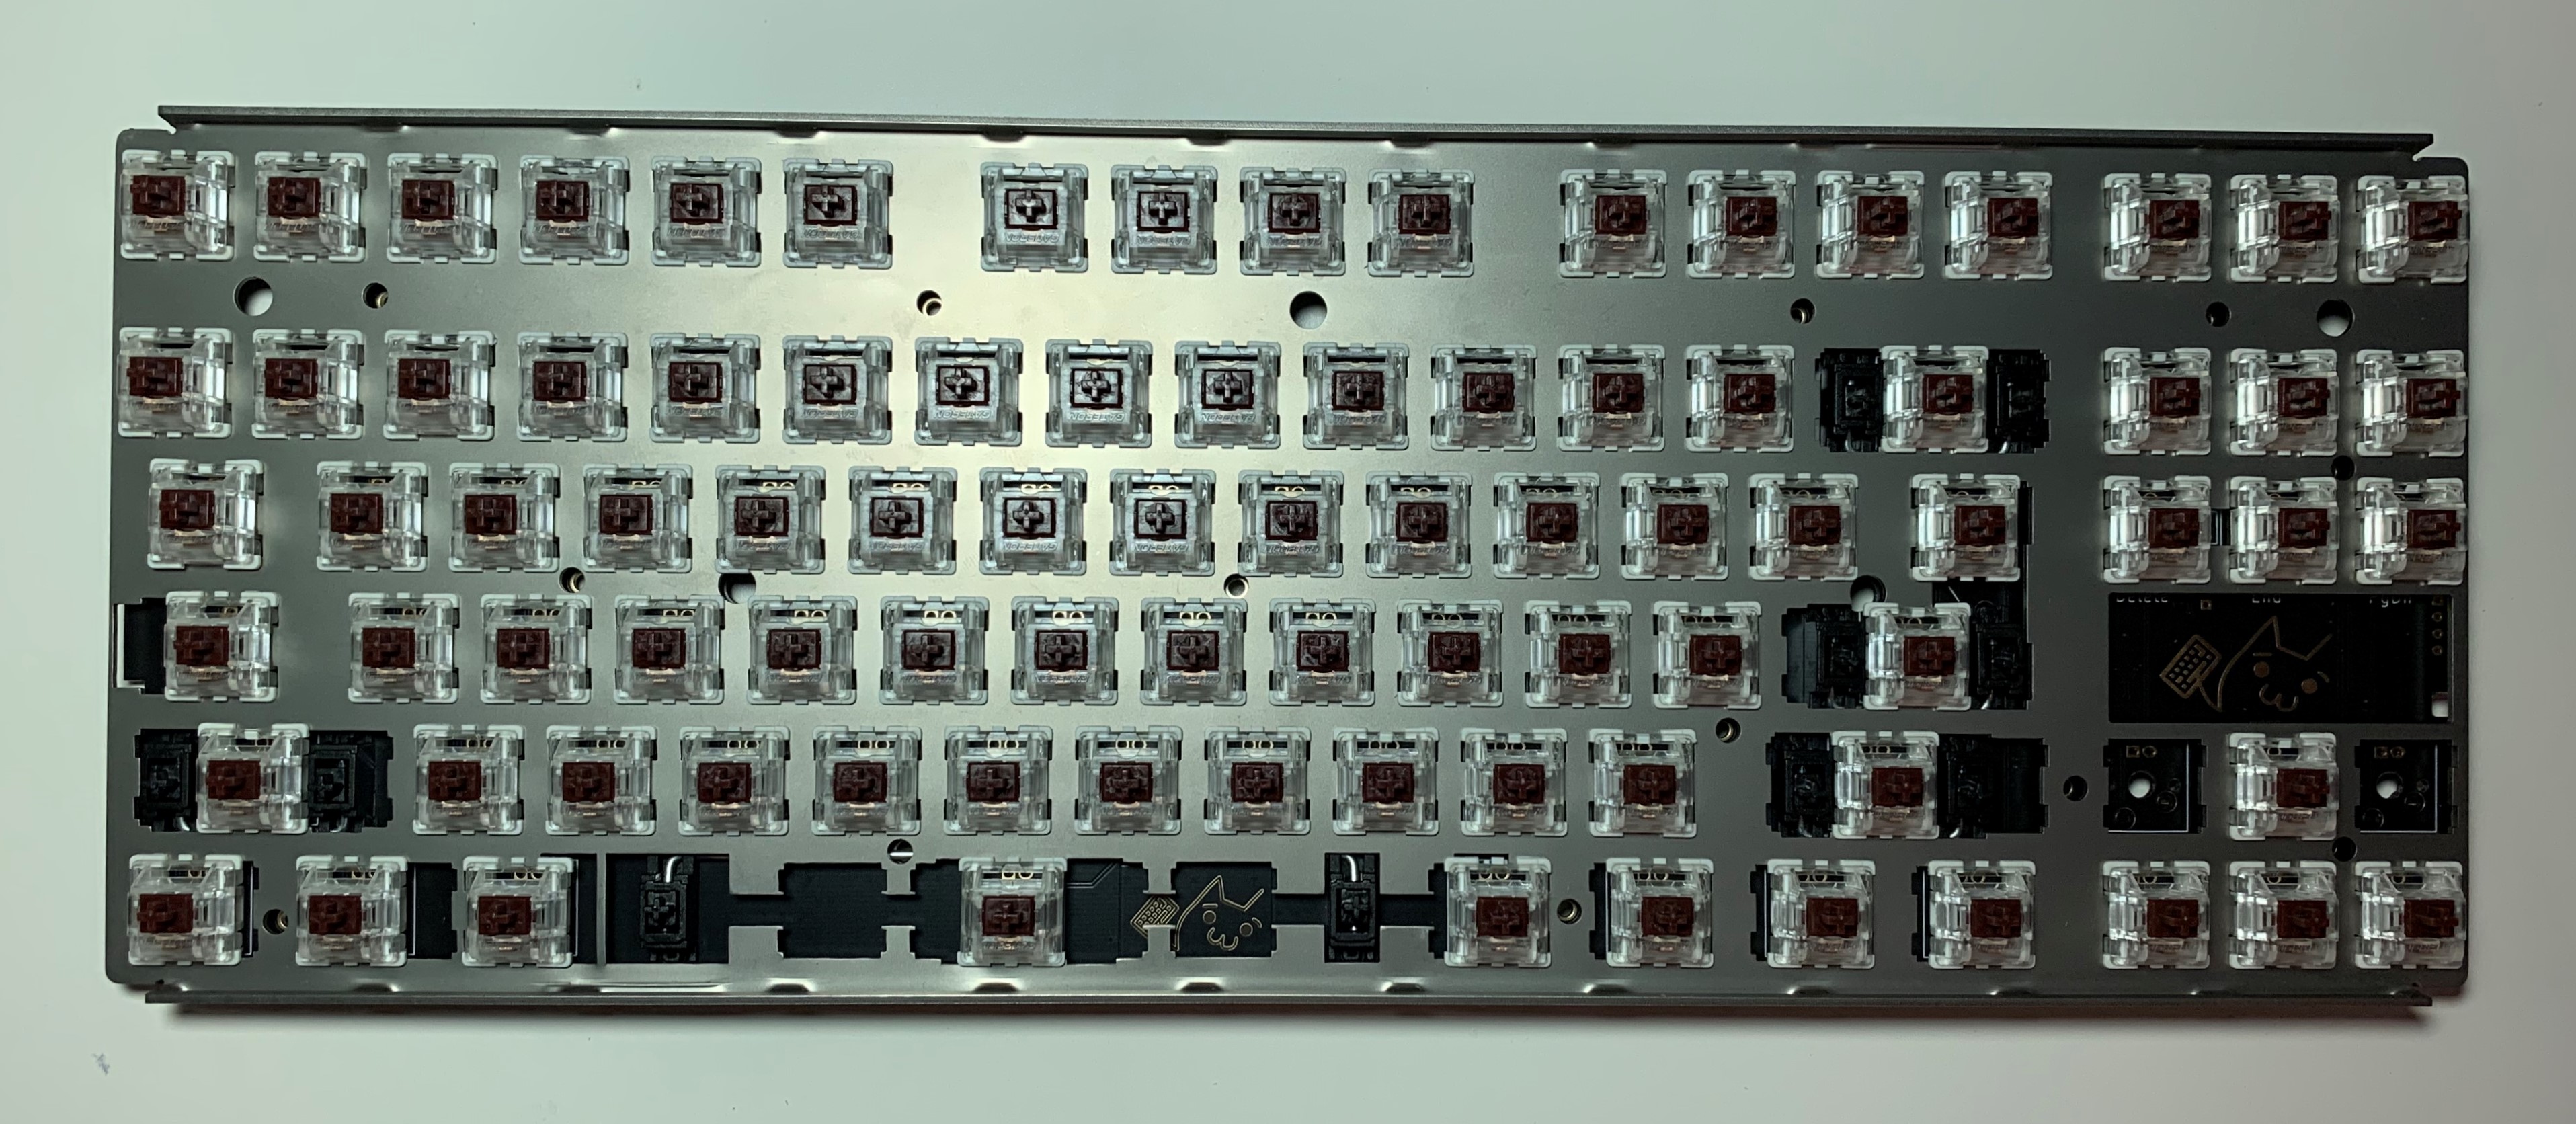
6) Check that switches are inserted properly using keyboard testing software
7) Place assembled PCB into bottom case
8) Cover the top case and click into place
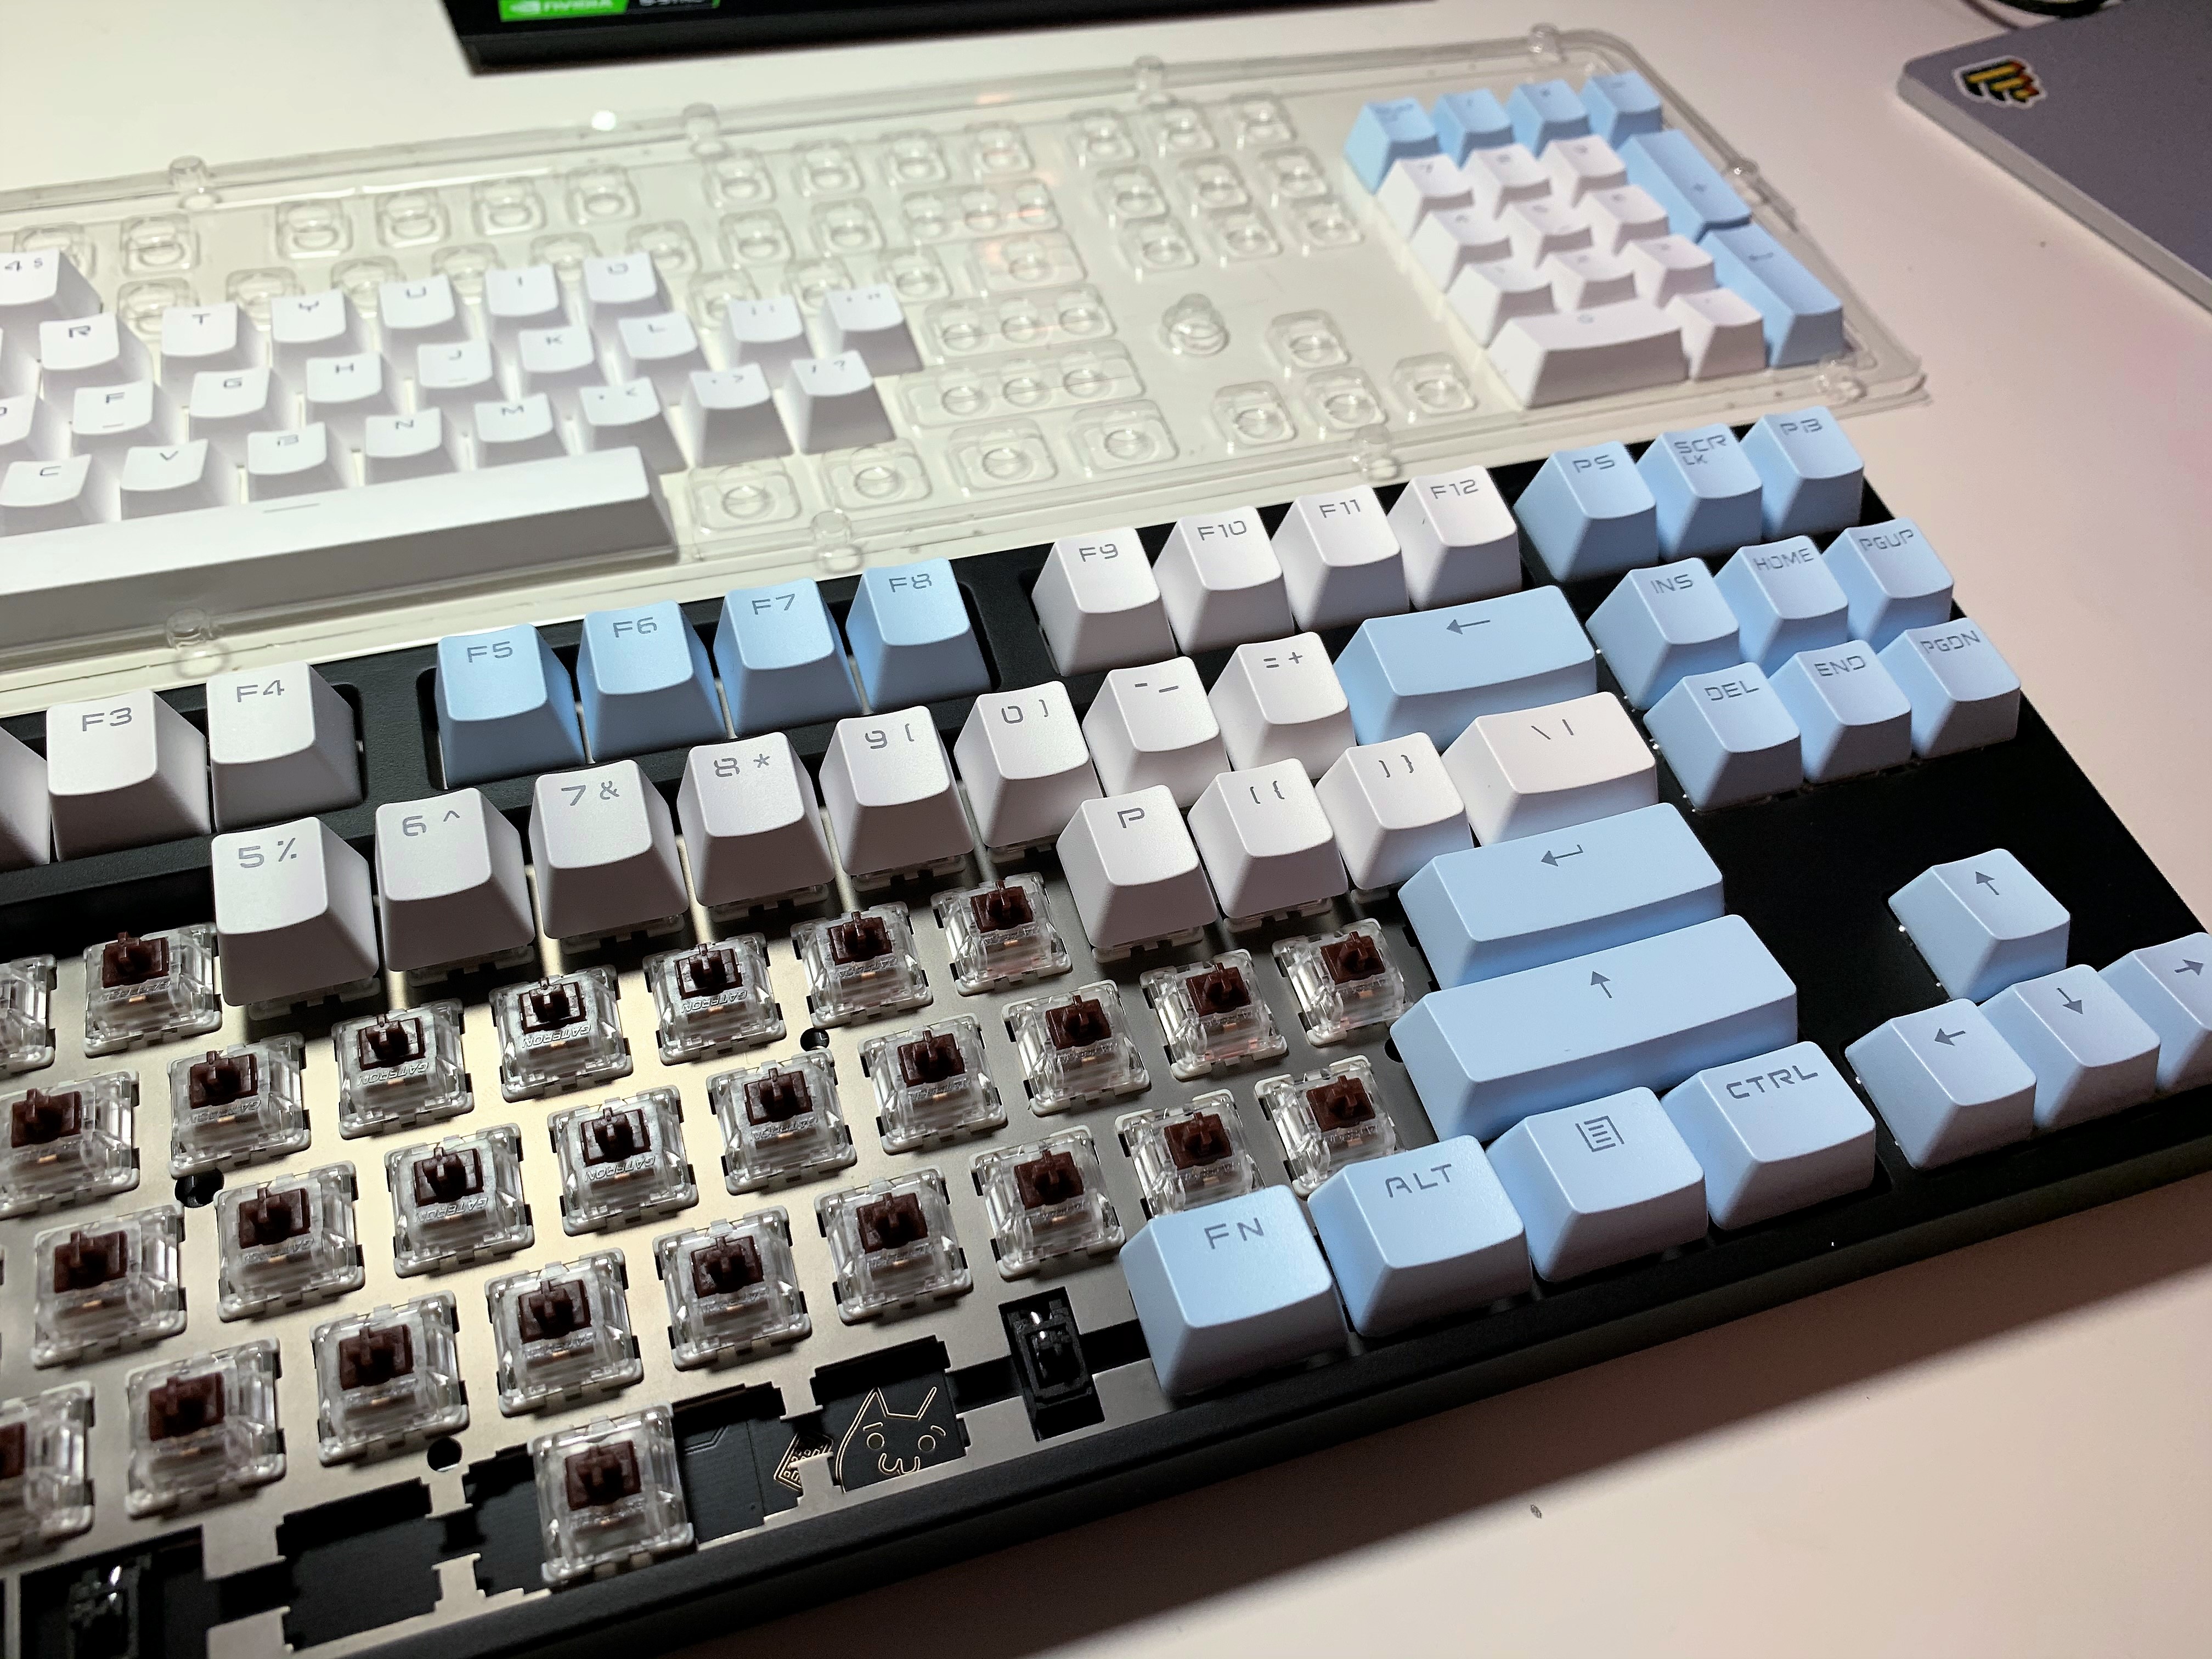
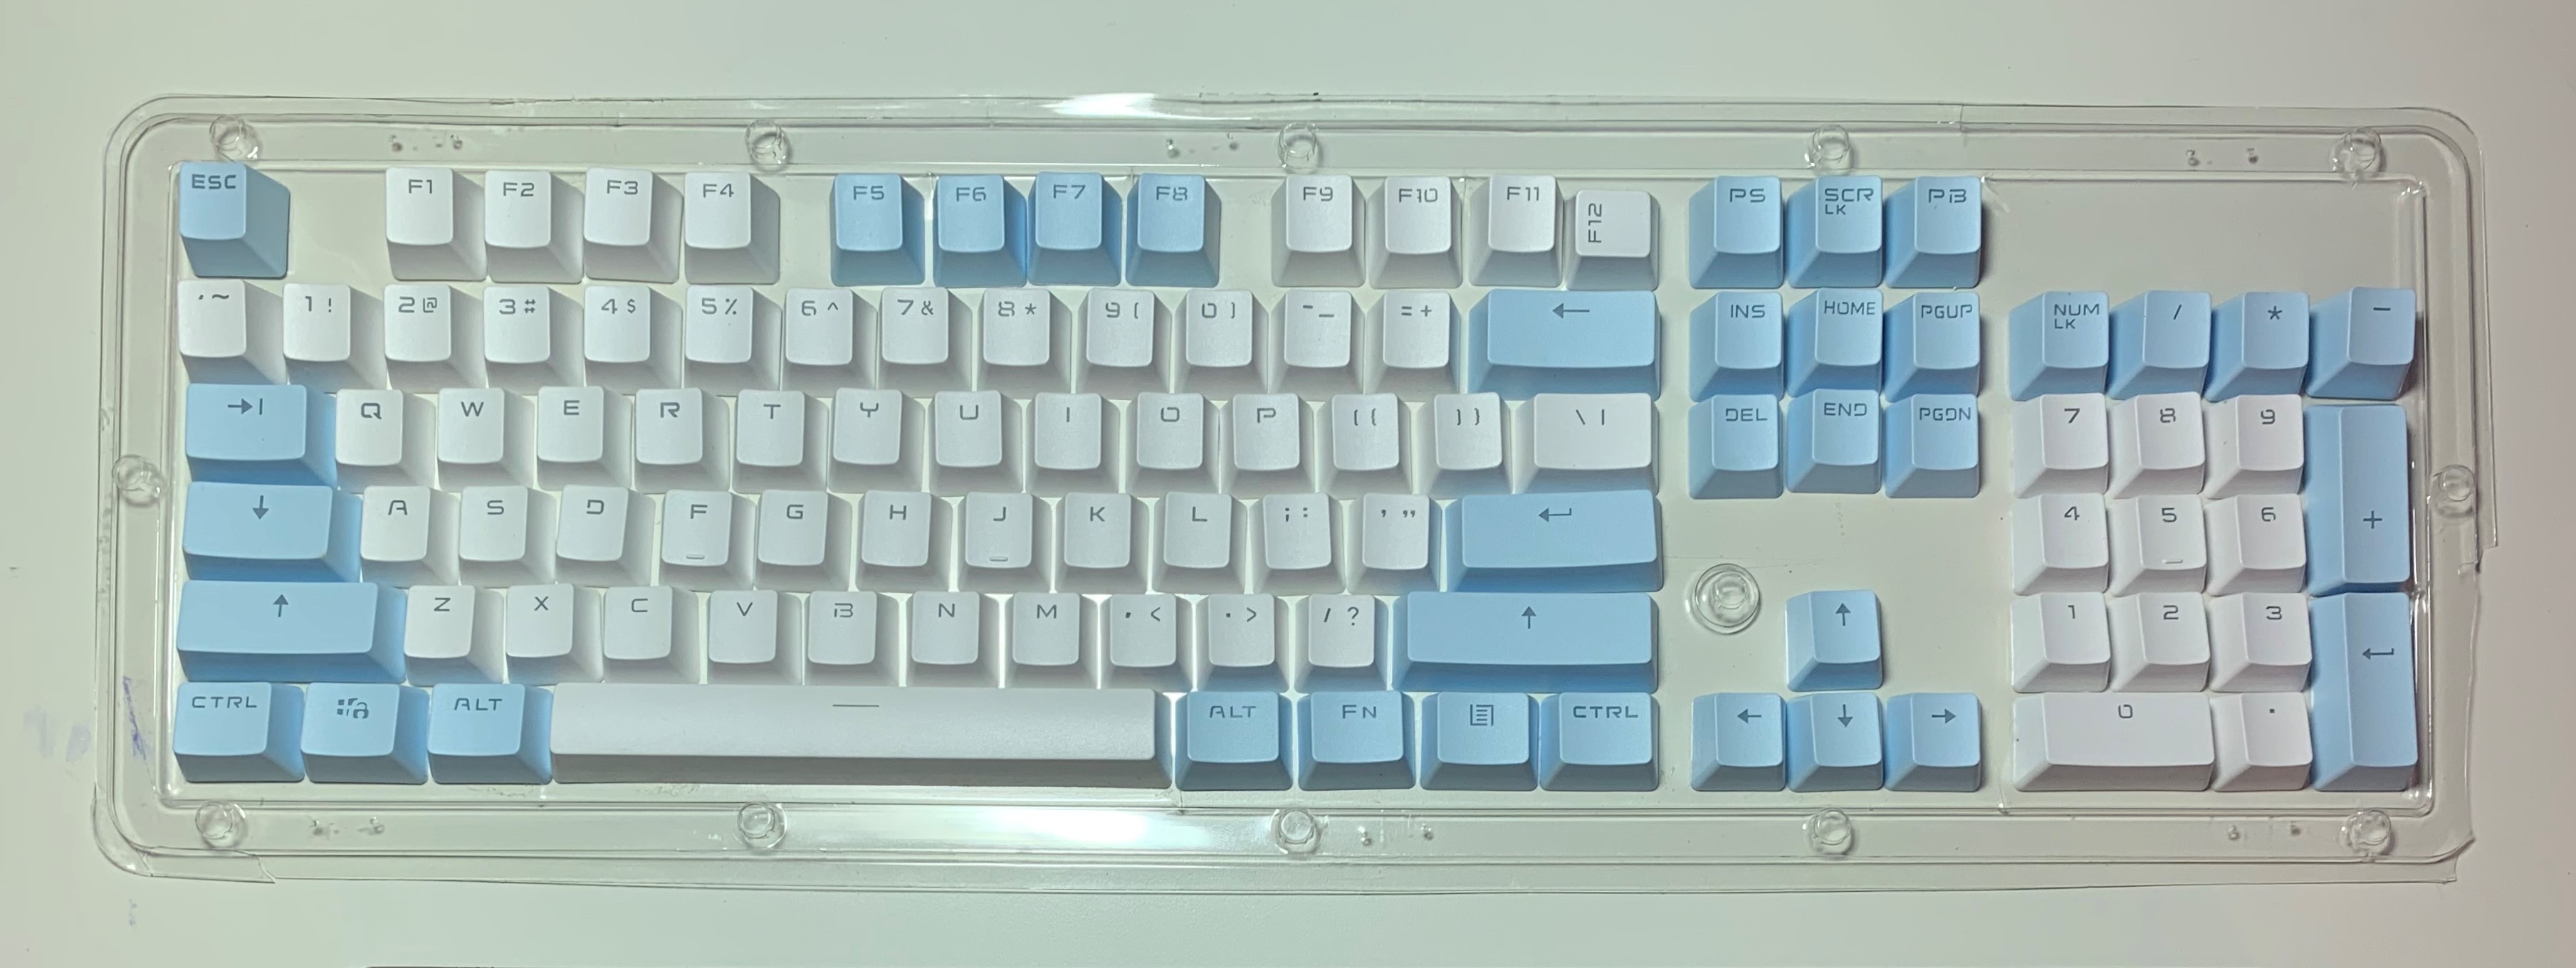
9) Cap the switches with keycaps
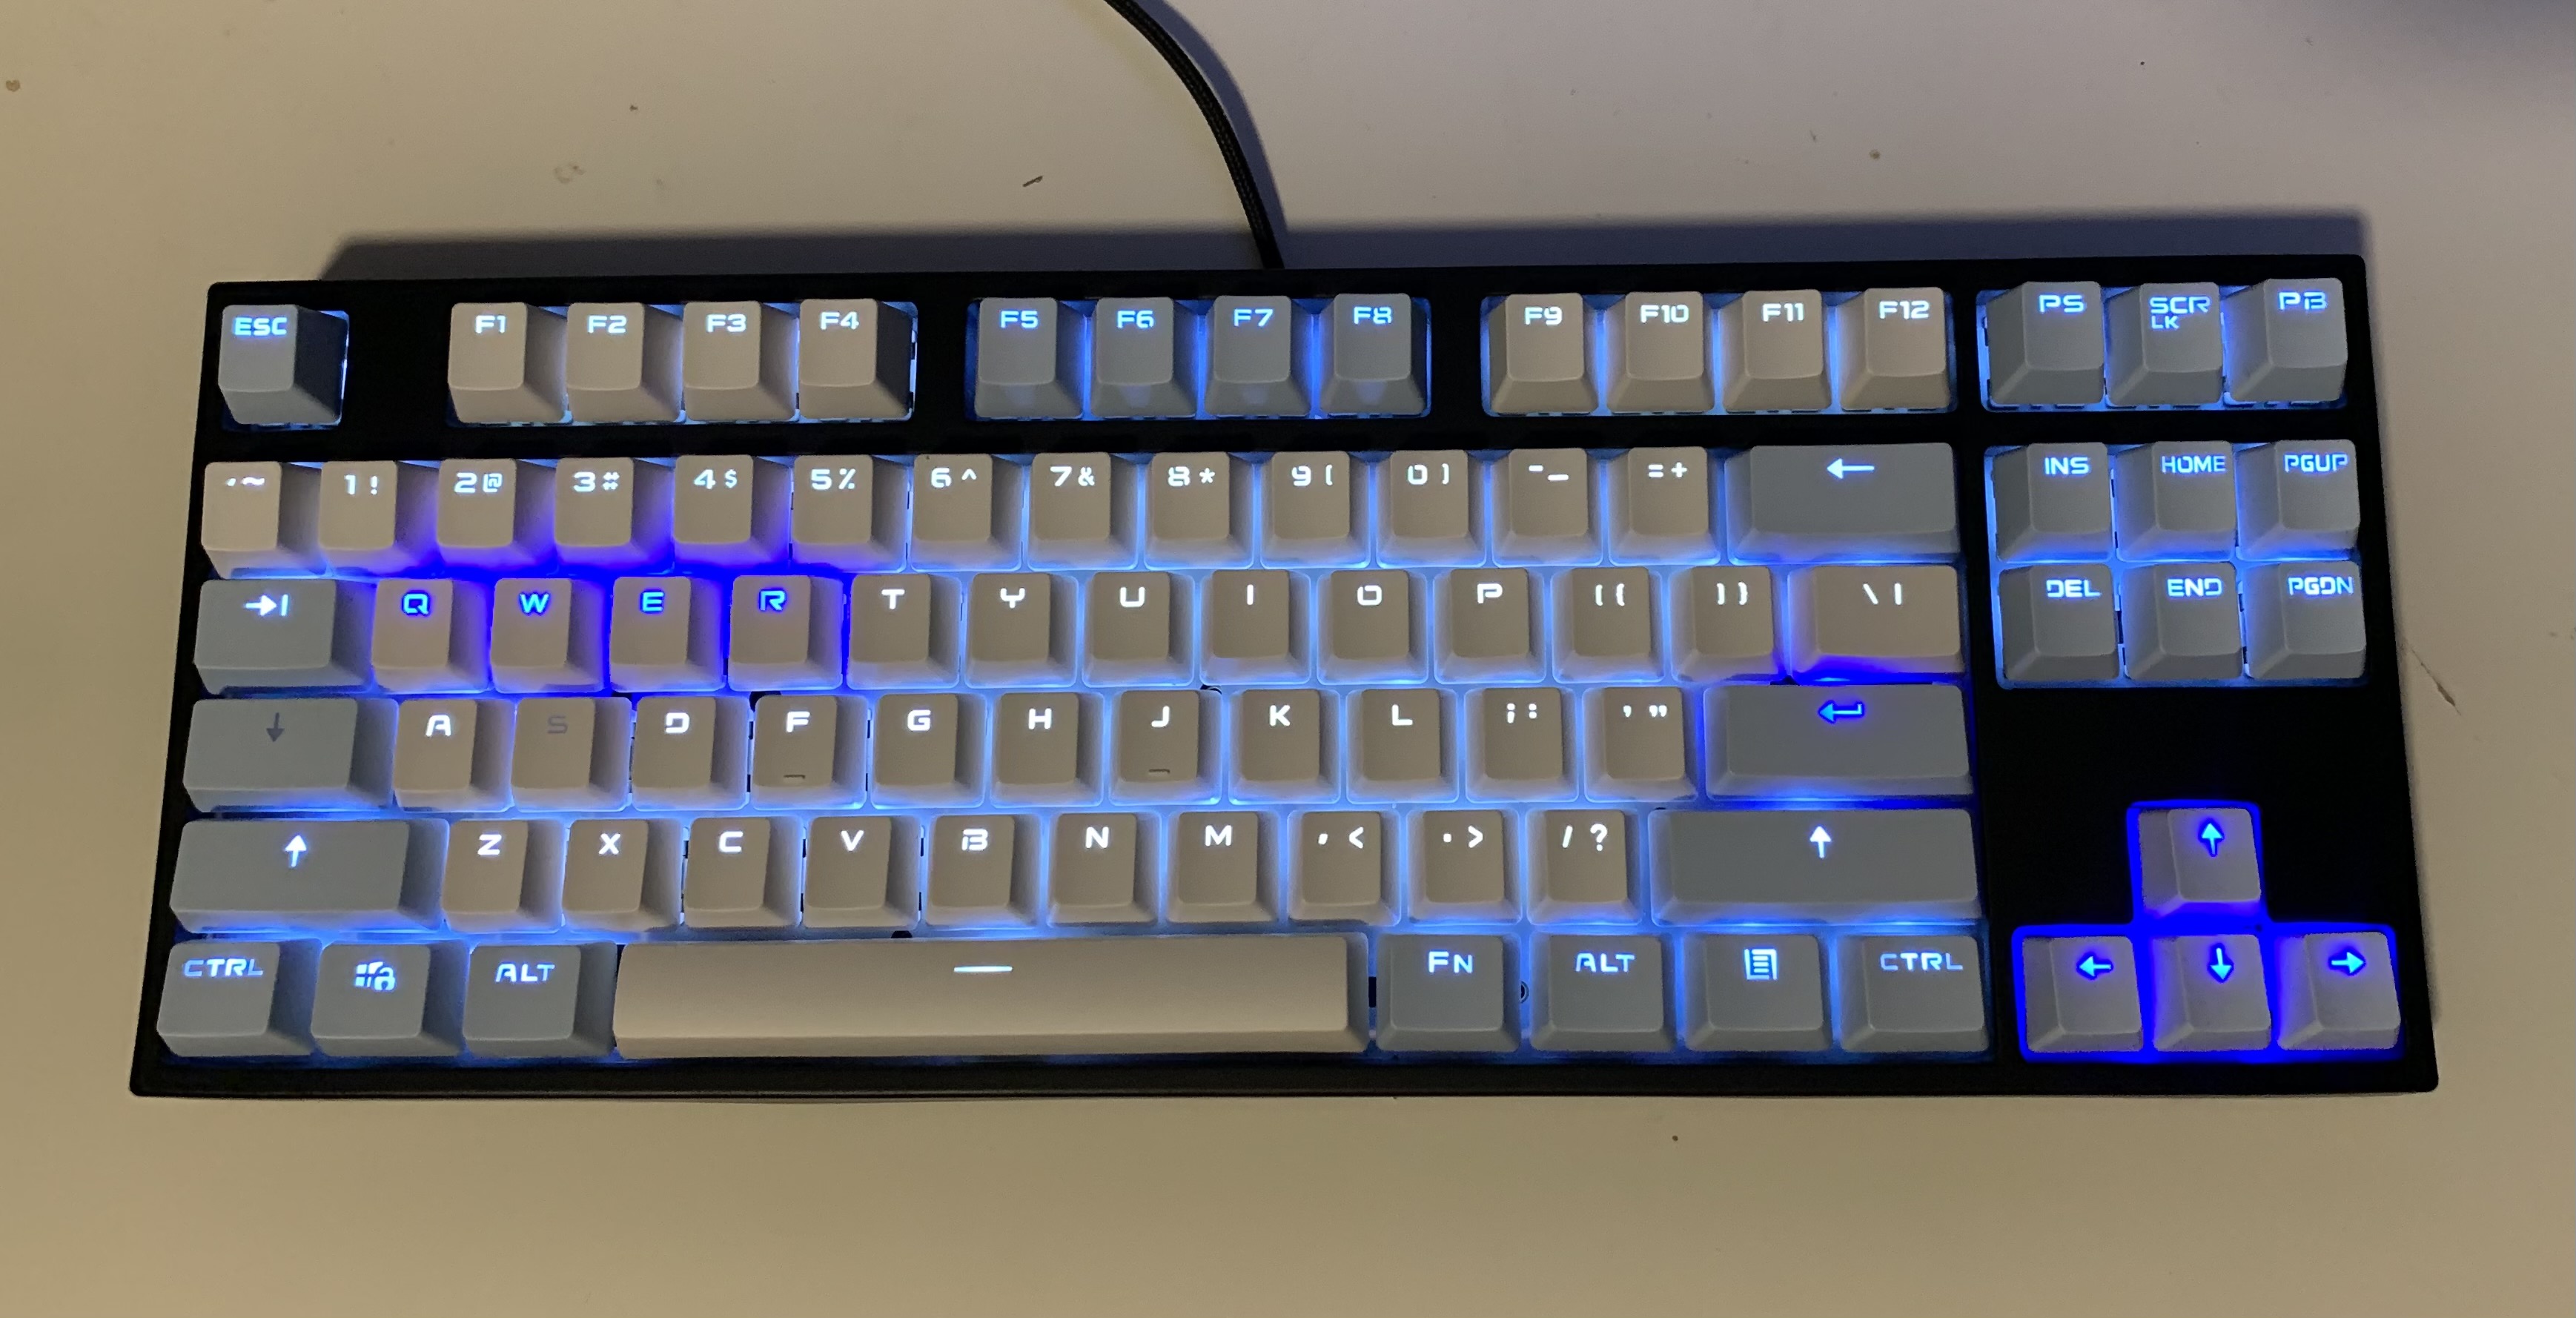
10) Completion!!

Parts
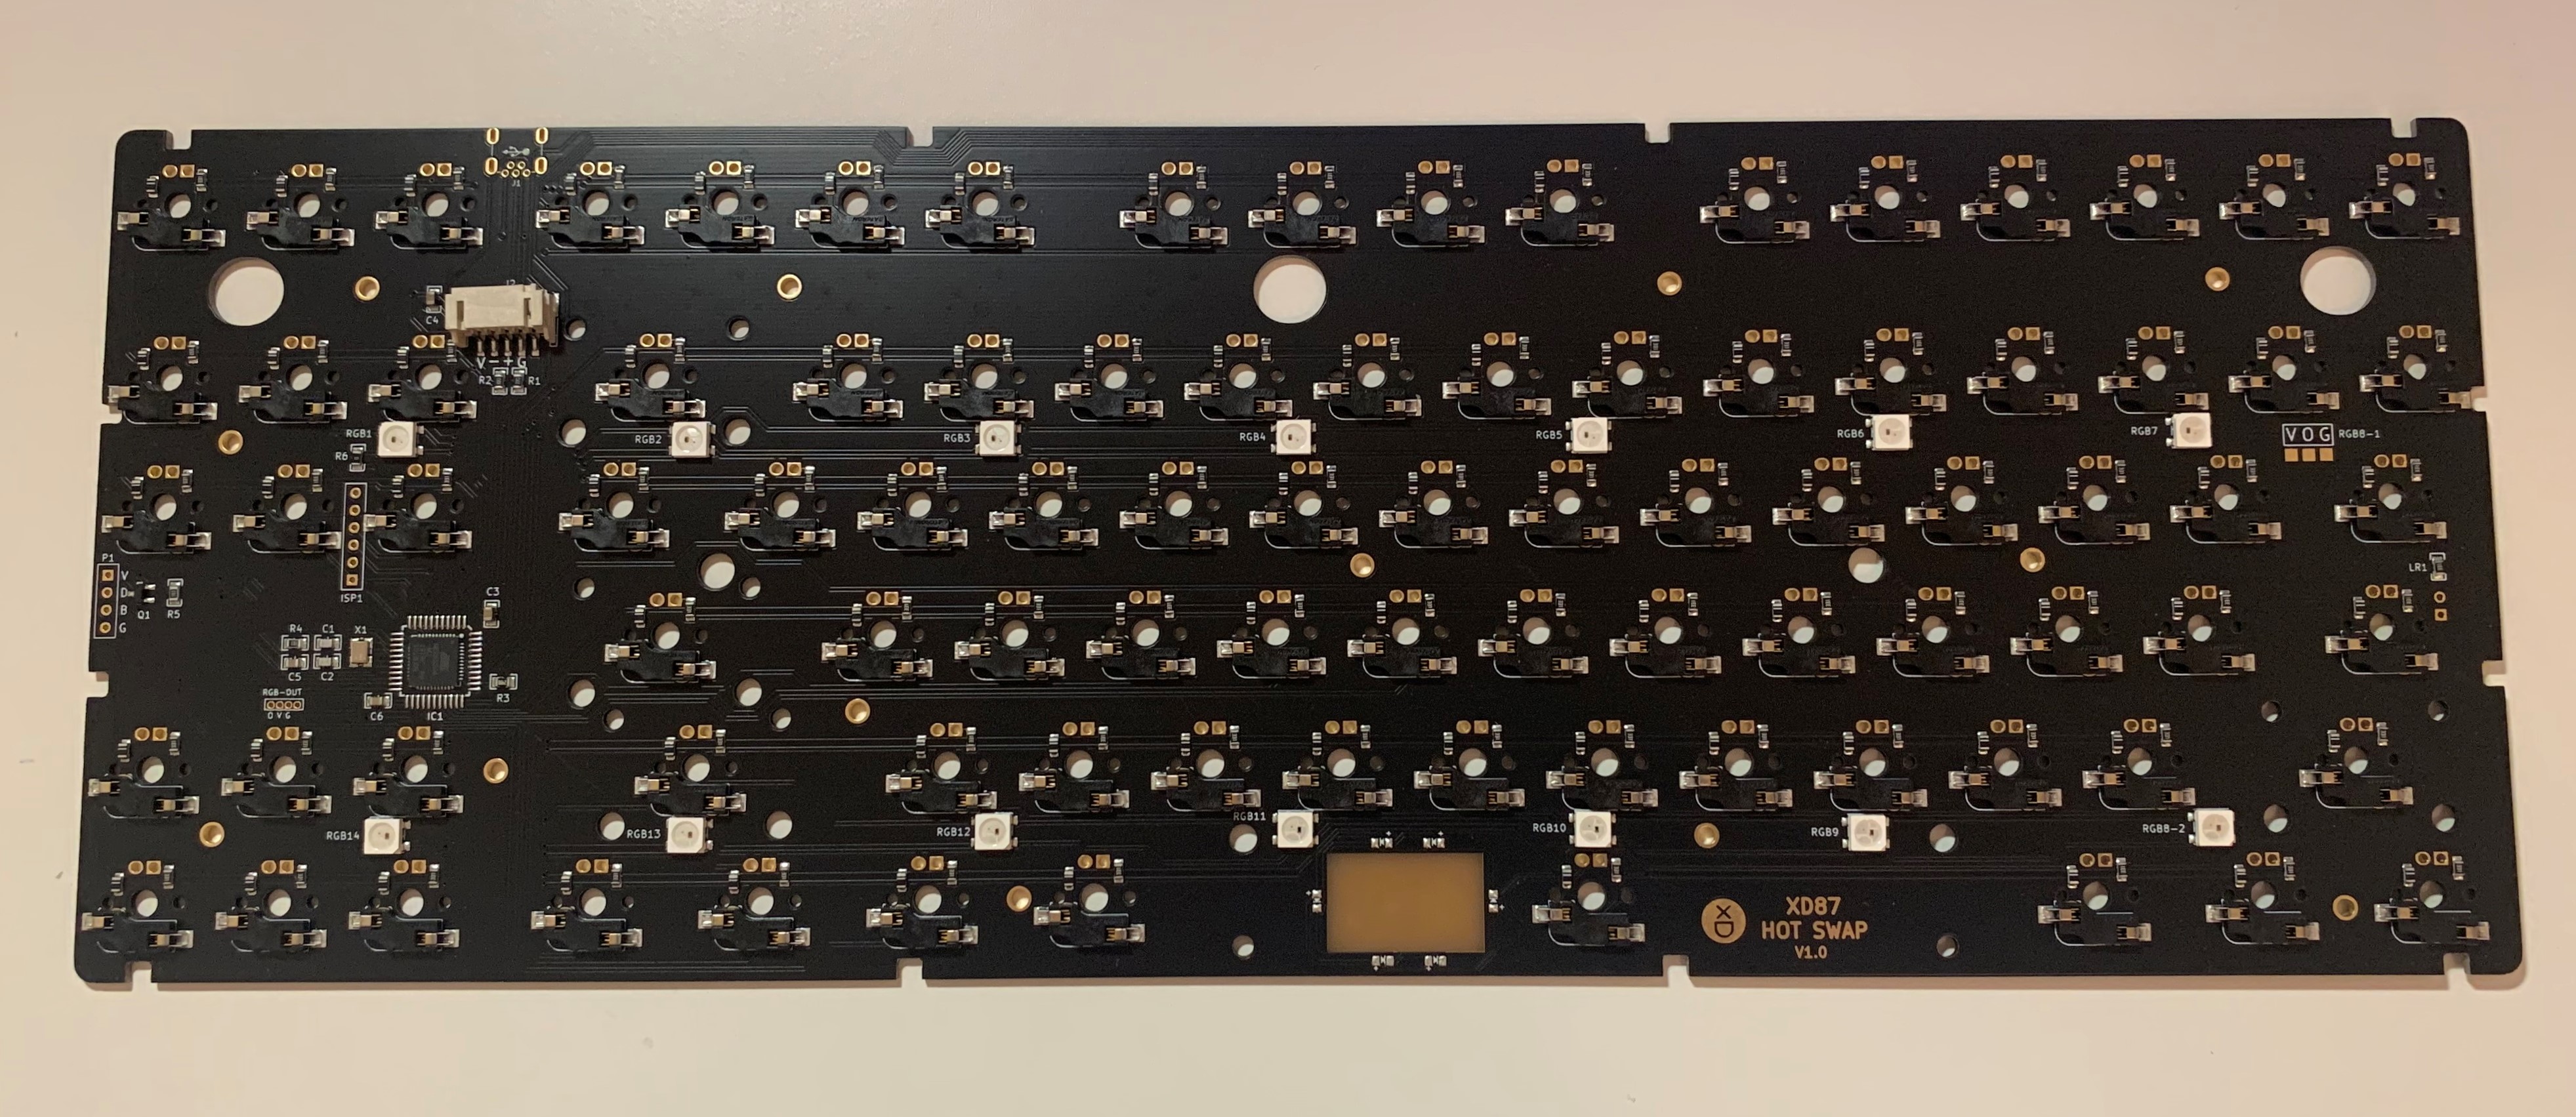
PCB/Case/Plate/Stabilizer: XD87 Hot Swappable PCB Kit 3
Switches: Gateron Brown switches

Keycaps: 104 Key Translucent PBT Keycaps
Lube: GPL205 G2 and GPL105 G0
LED: Long Pin Hot Plug Hot Swap Sip Socket
Reflection
The process of building my keyboard was a little trickier than I imagined. For example, mounting the stabilizers into my PCB took a lot of force and honestly hurt my fingers. Having the hot swappable PCB definitely made the process easier, so I highly recommend choosing a hot swappable PCB if you are building a custom mechanical keyboard for the first time. It avoids the need to saulder and is more lenient with mistakes.
Basically, I now have a very expensive hobby because building mechanical keyboards from scratch is honestly more expensive then buying pre-built ones. However, there is something so satisfying about using products that you designed, built, and cultivated. I am hoping to build two more keyboards in the near future (one that is not hot swappable and one that is a 60% size). As well, I am hoping to film a sick video for the next keyboard I build.
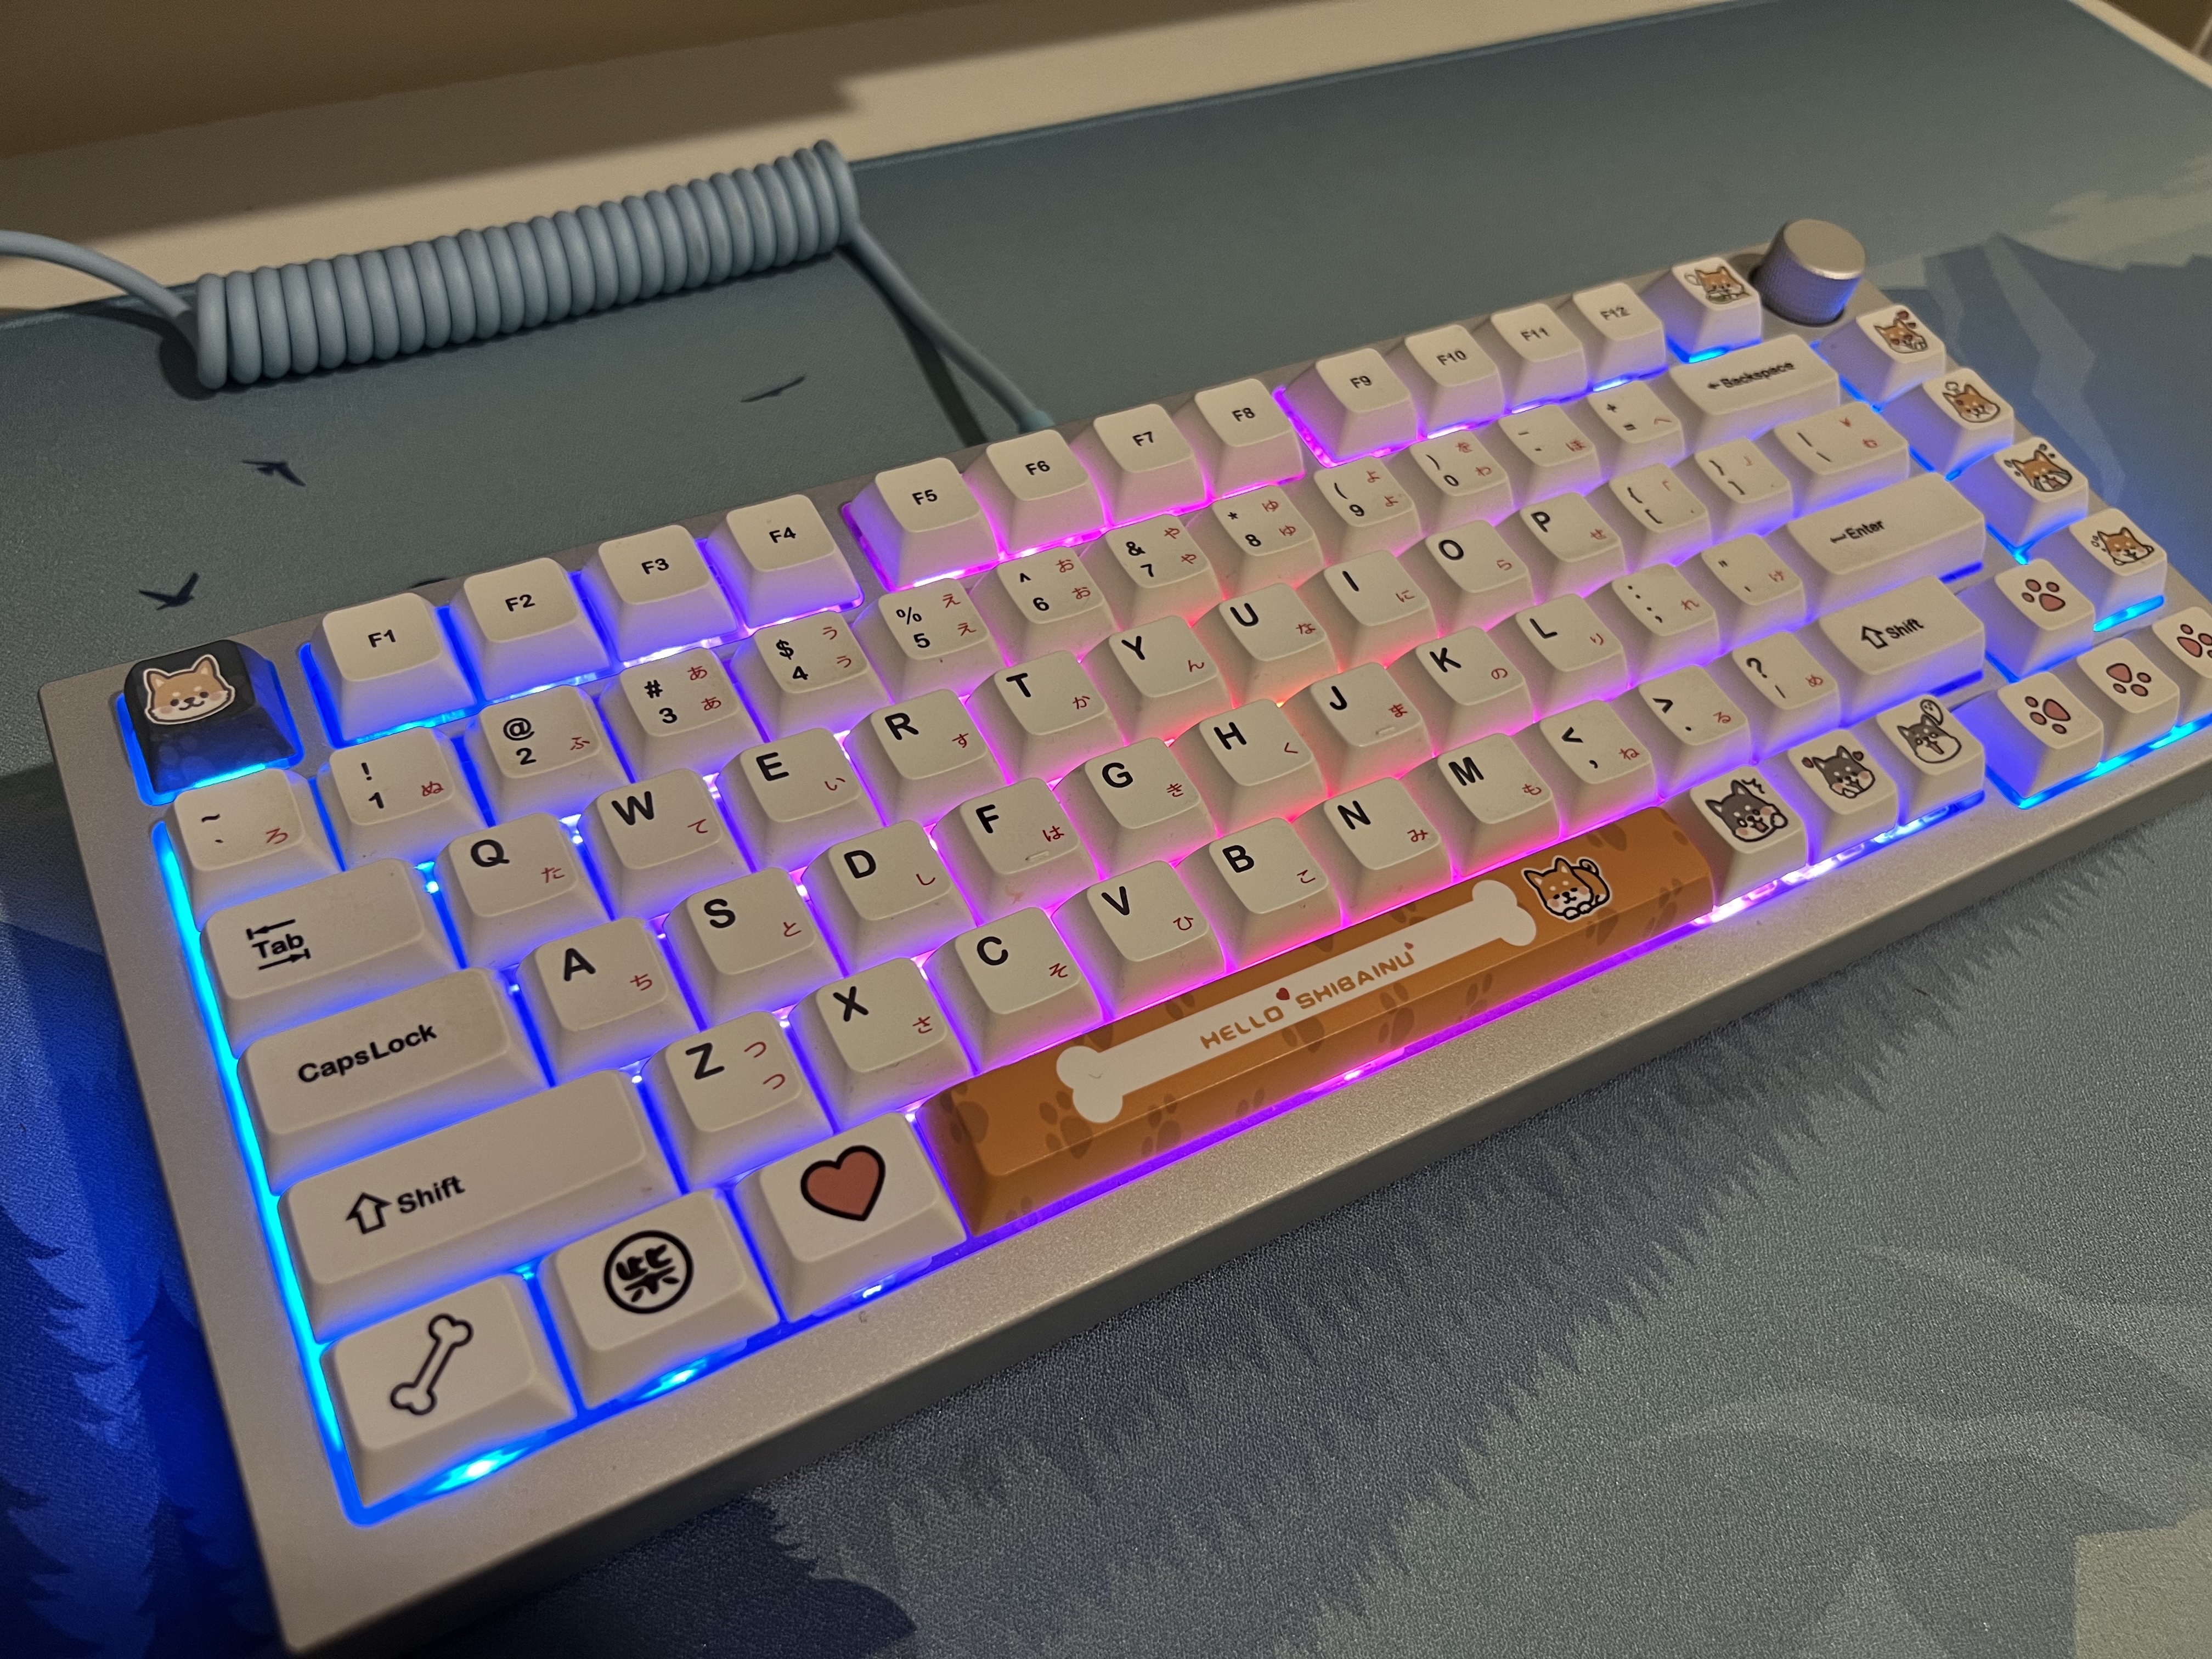
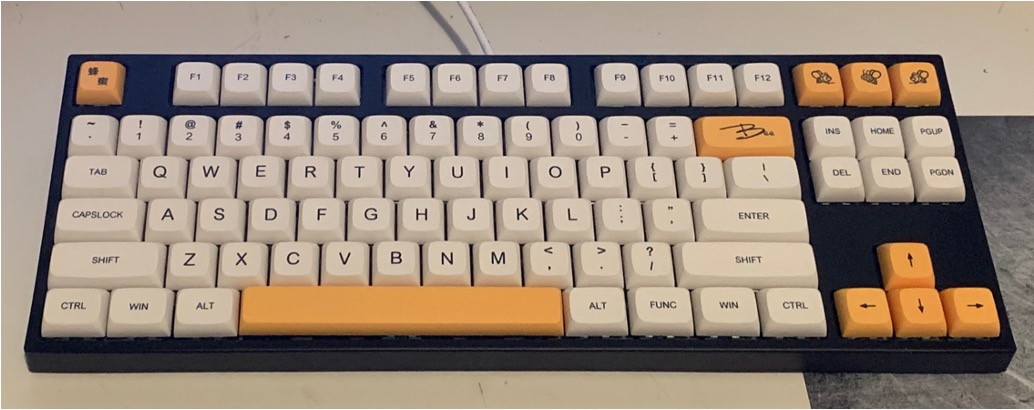
Version 2 Upgrades
Board: GMMK Pro
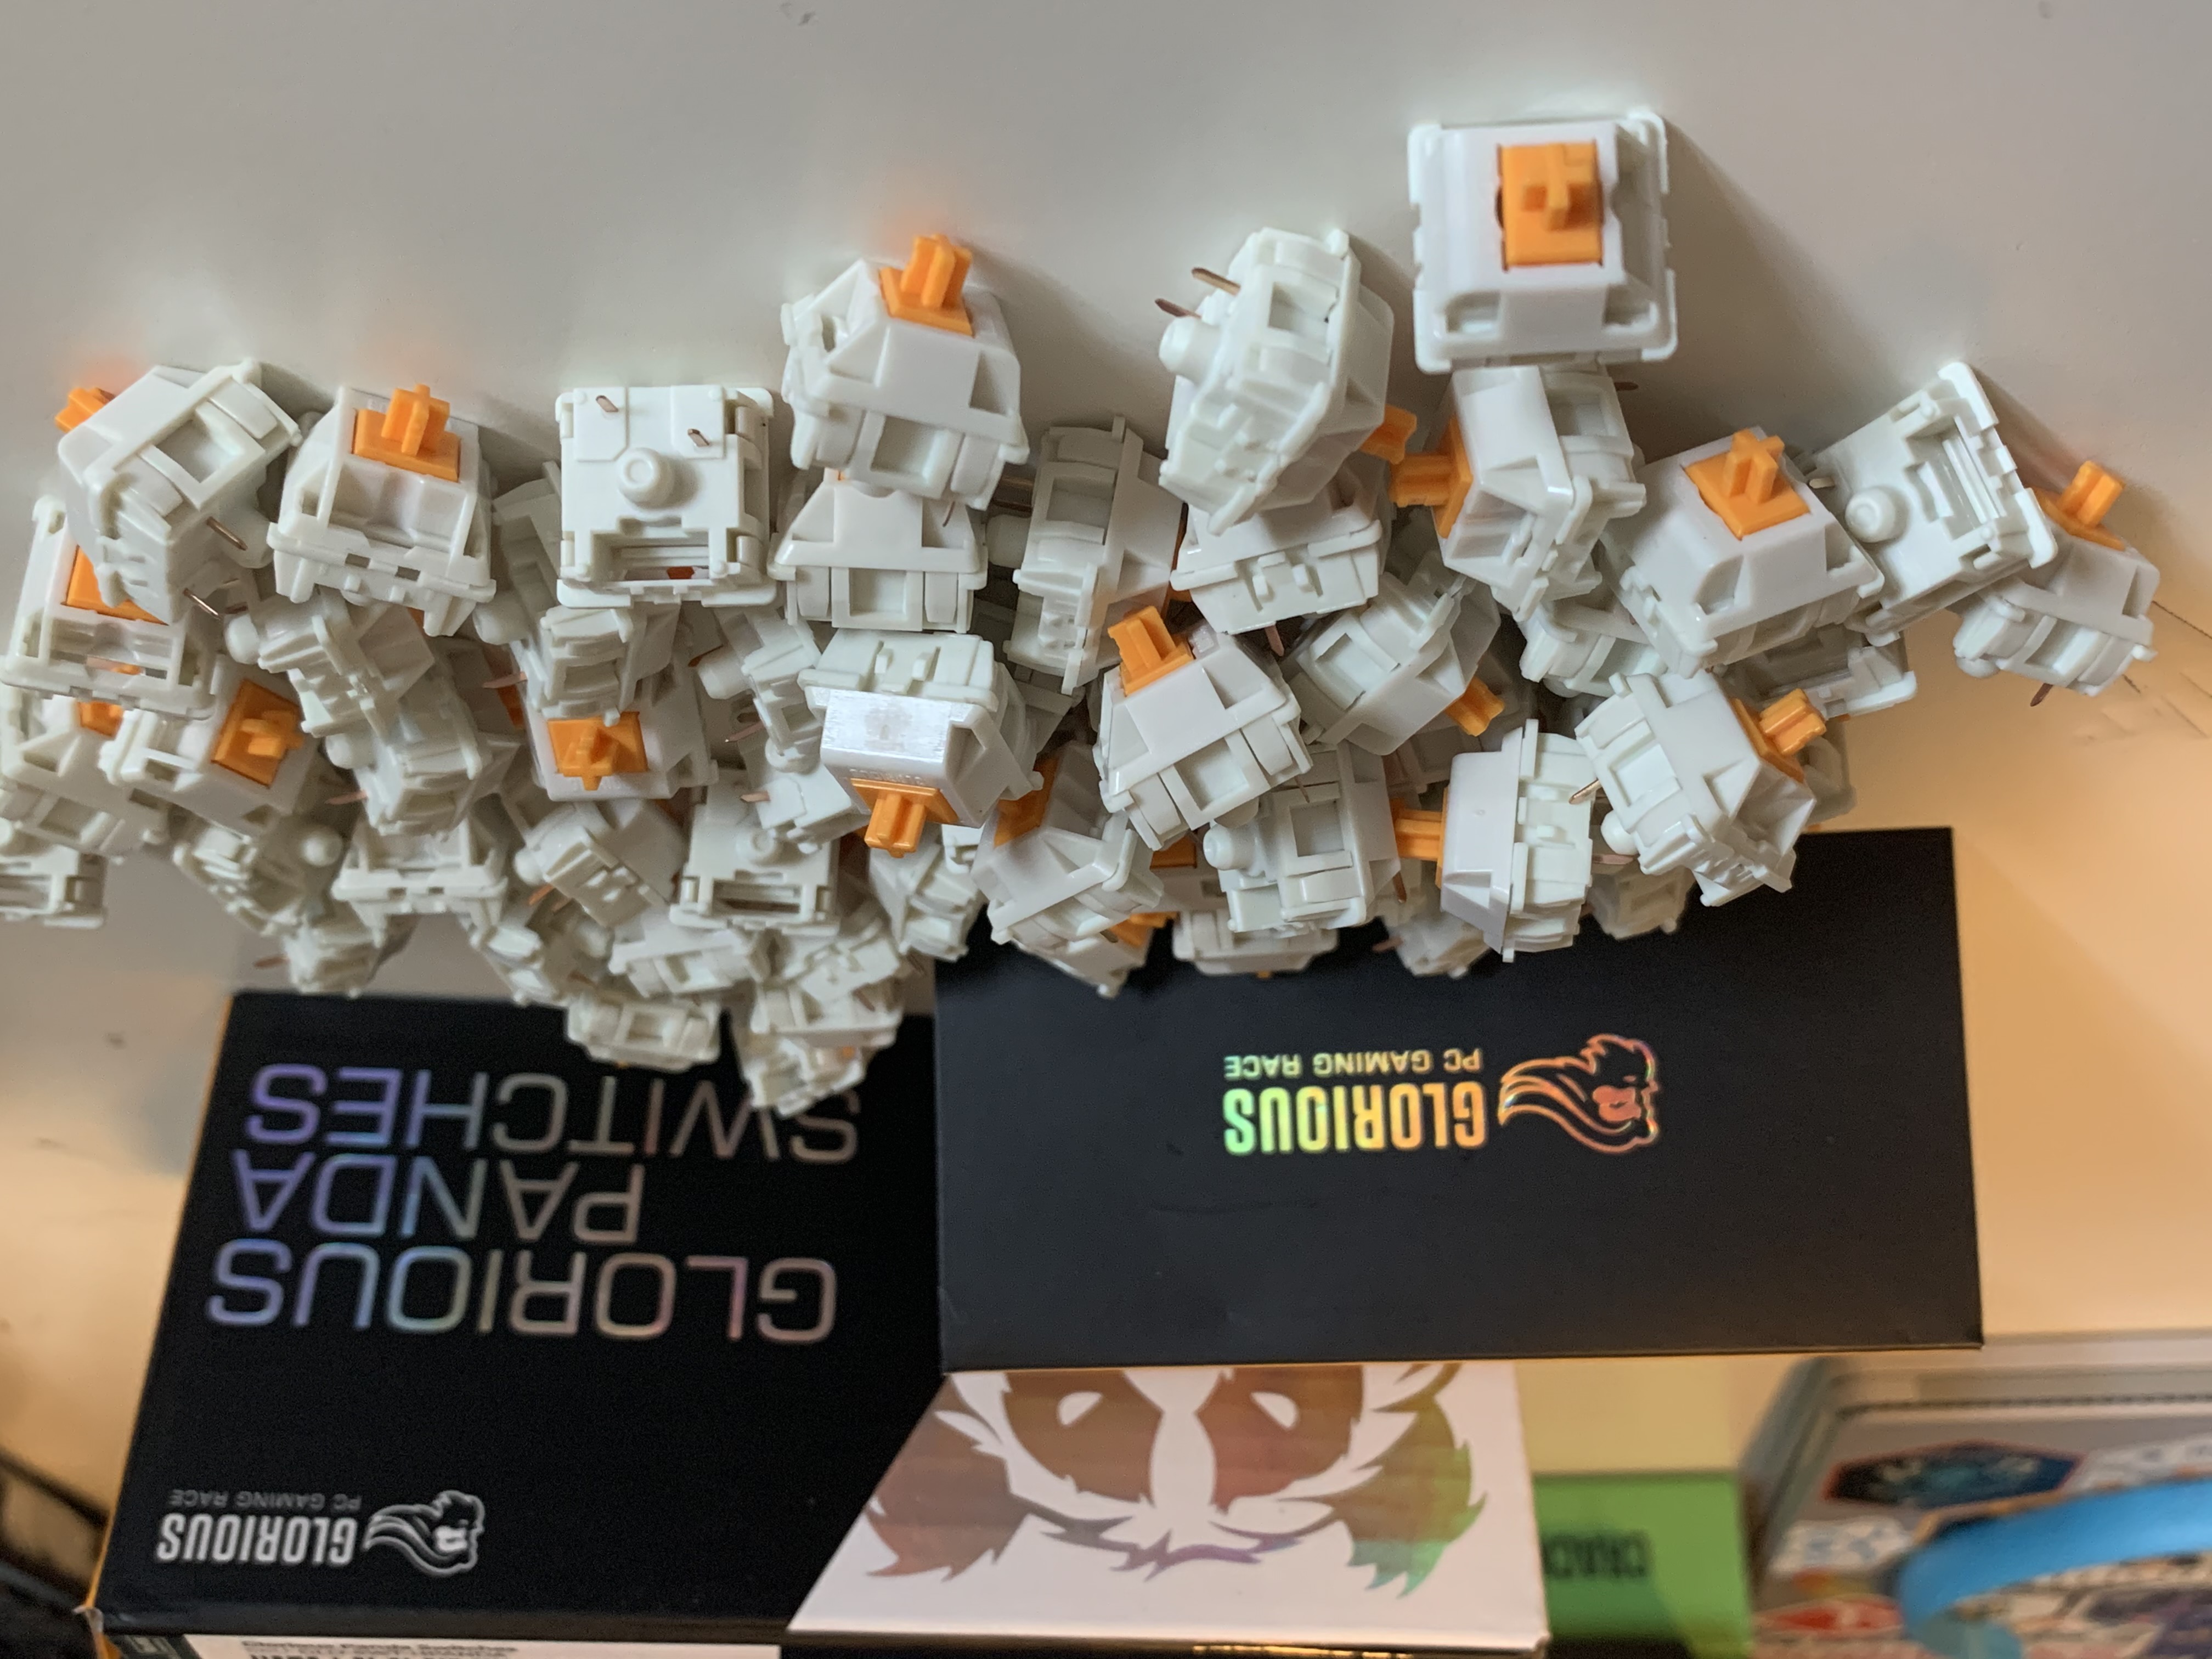
Switches: Glorious Panda switches
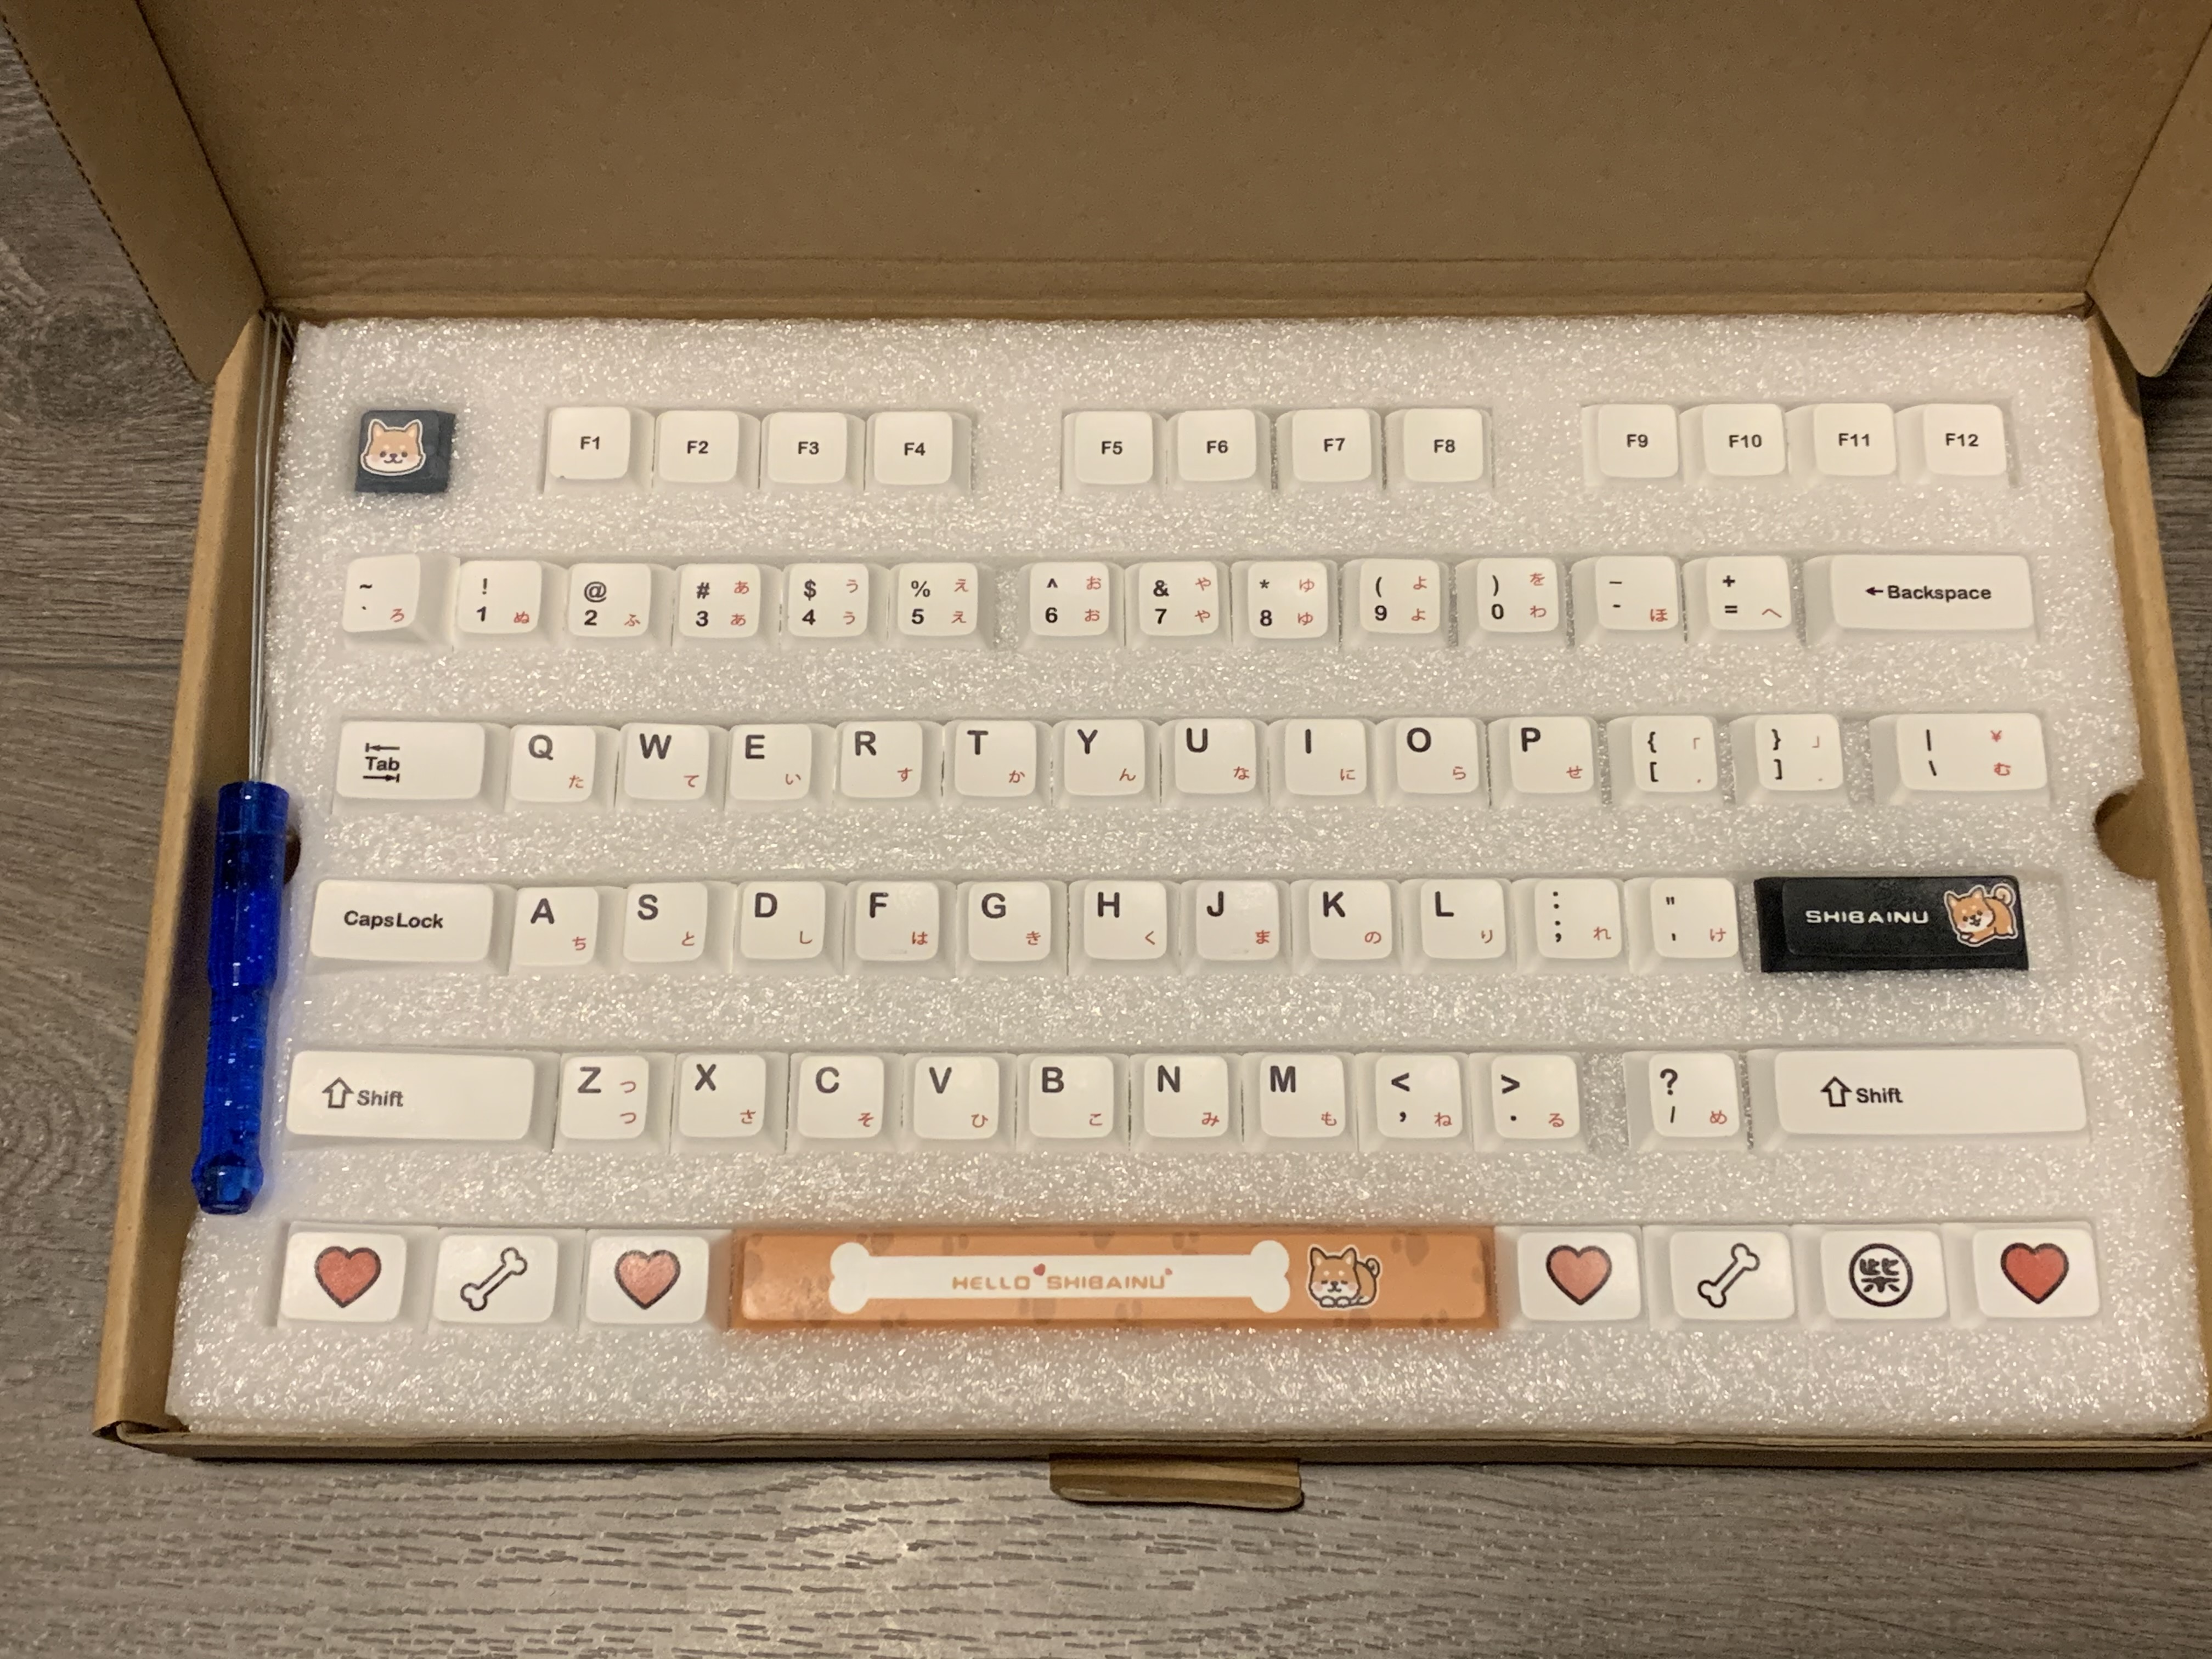
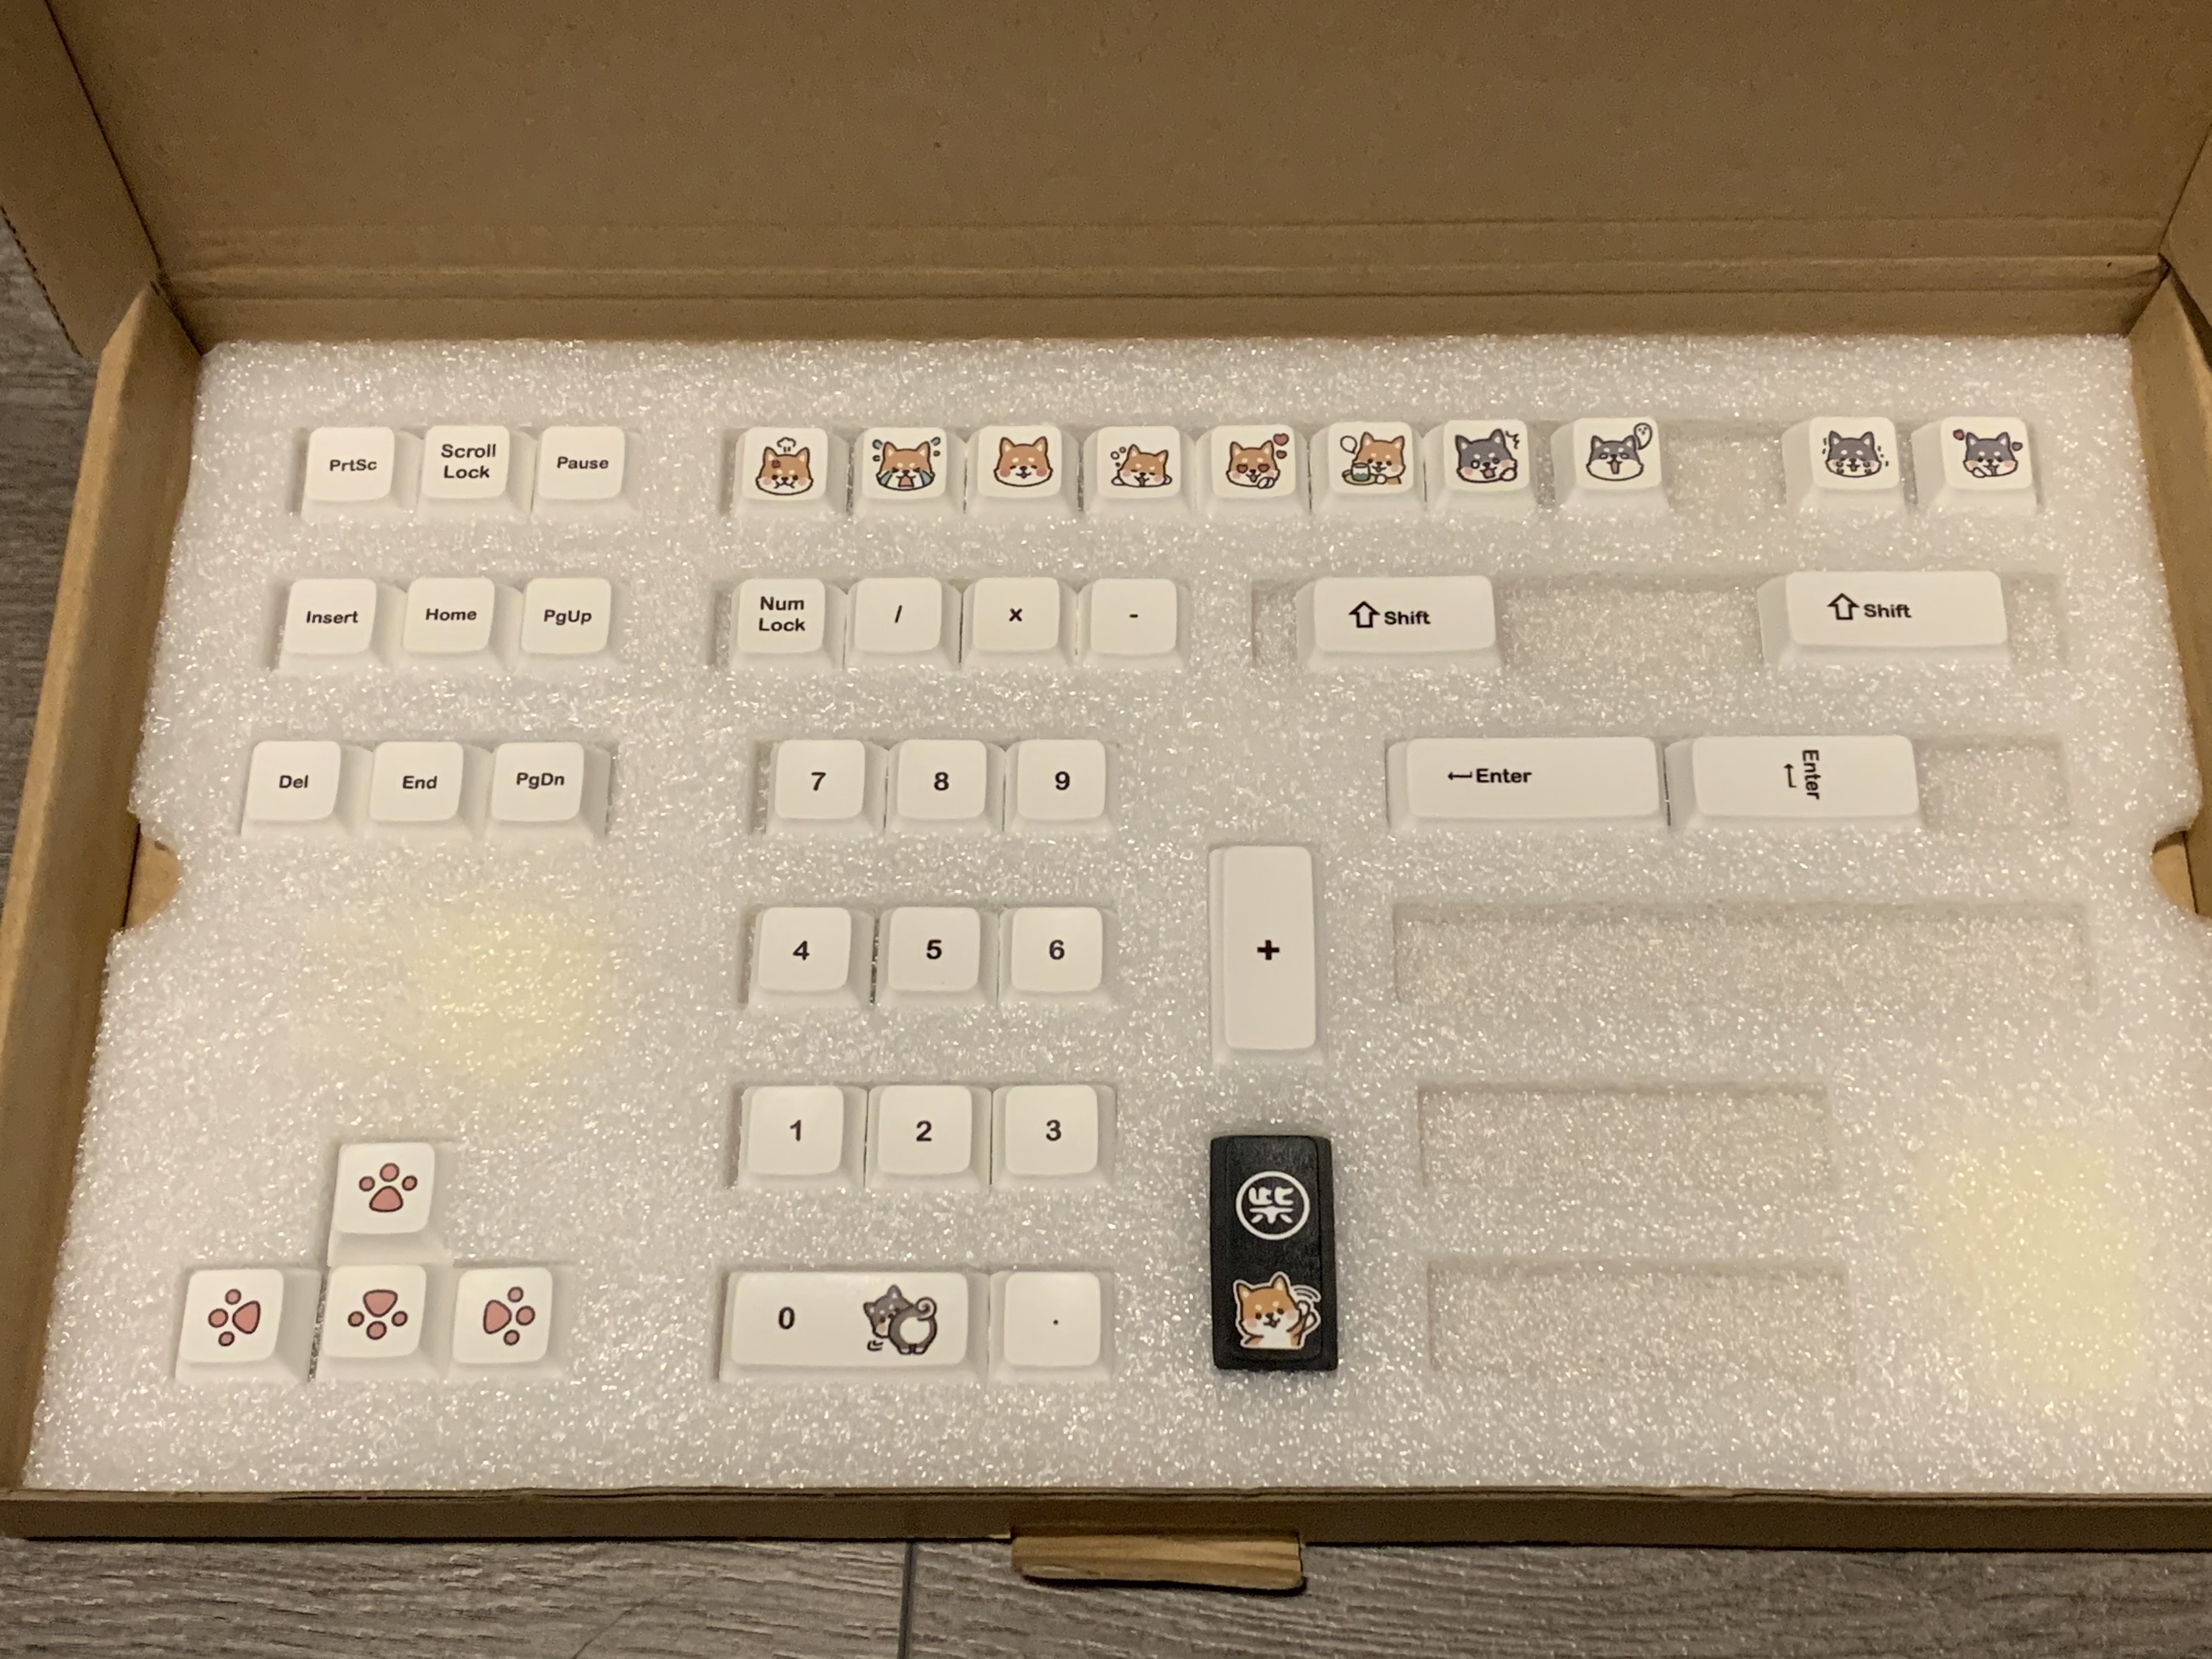
Keycaps: Shiba Inu Keycap Set XDA Profile PBT DYE-Sub Japanese Keycaps
Deskmat: Alberta Desk Mat
Wrist rest: Glorious padded keyboard wrist rest TKL
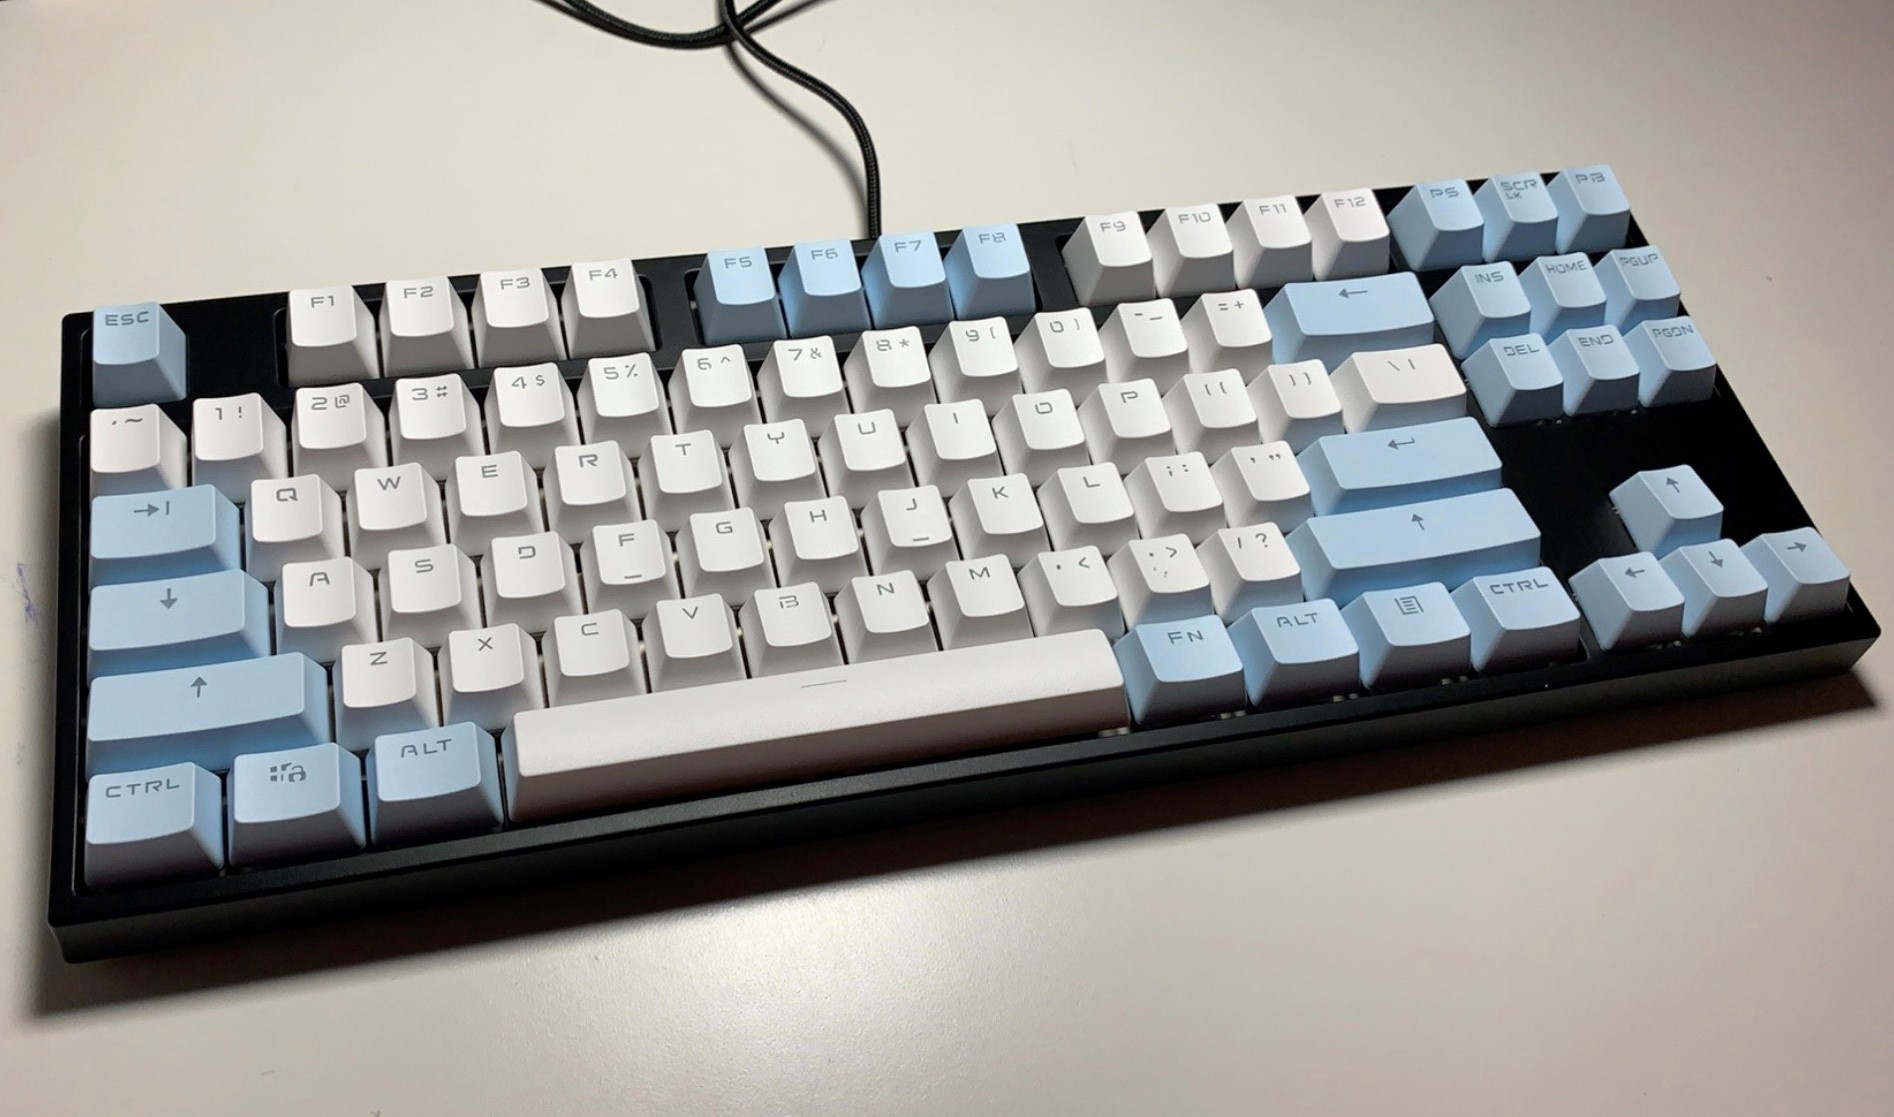
Final product
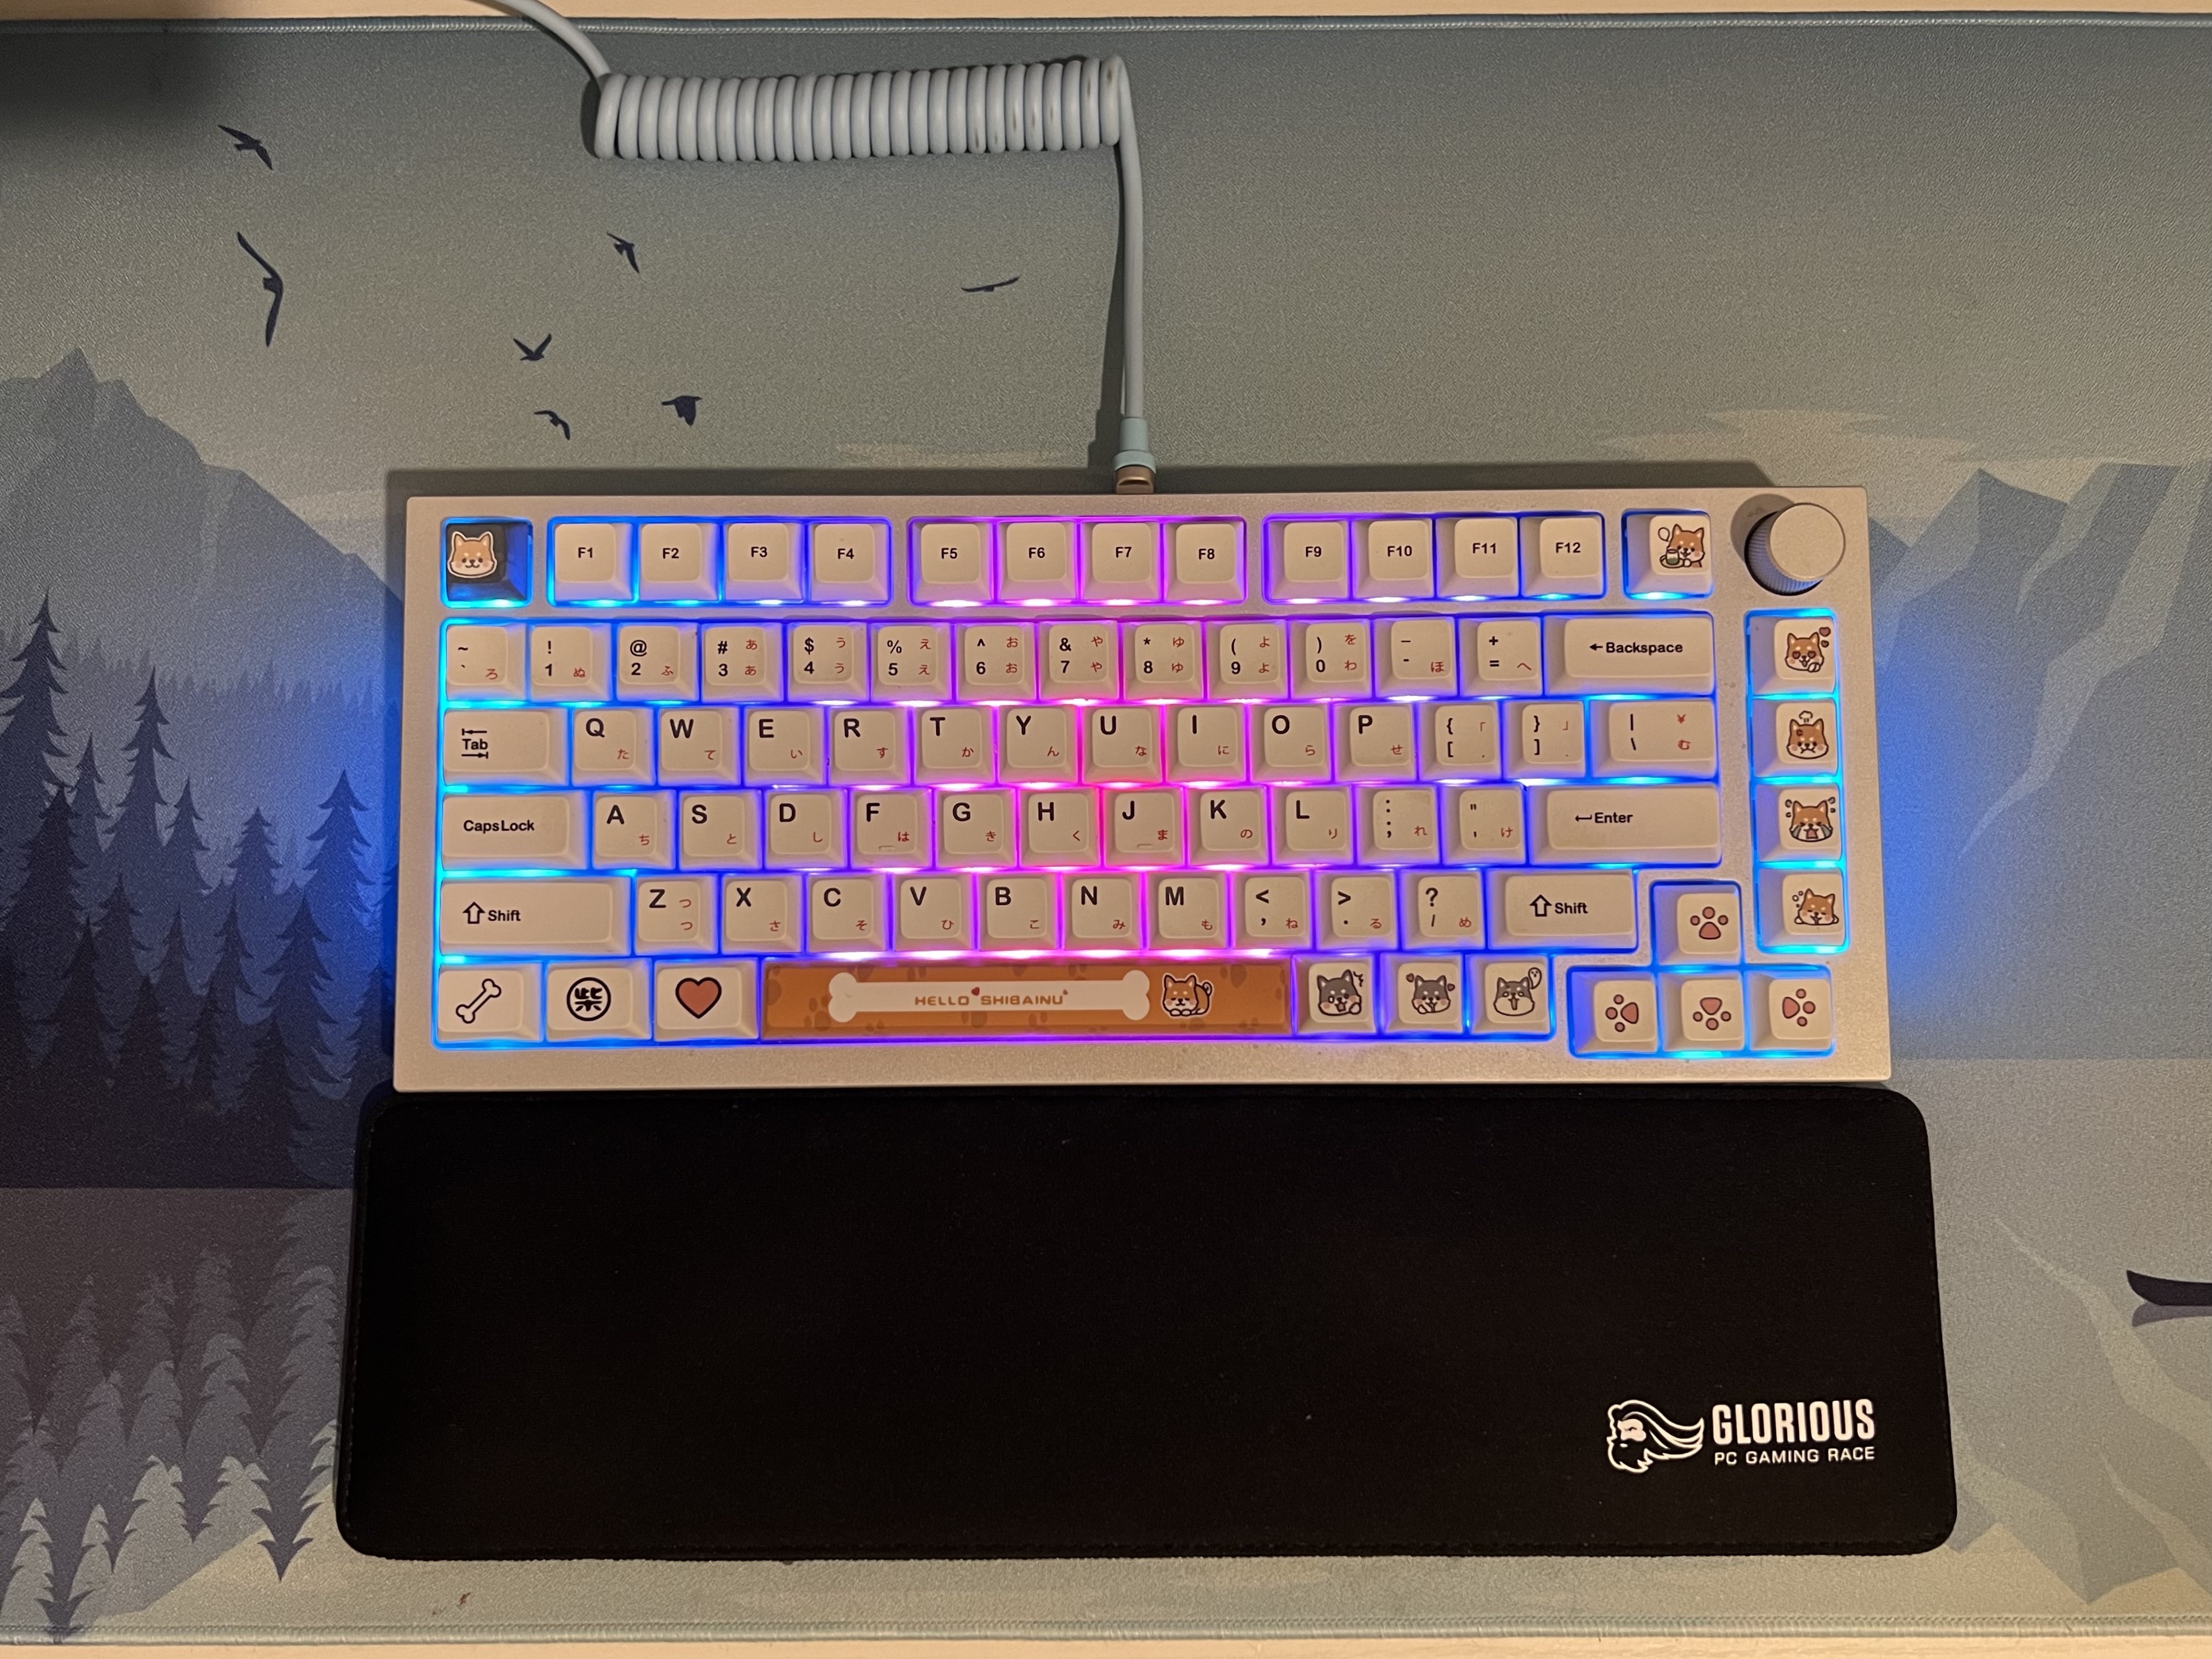
The addiction continues...
Compact Acrylic Keyboard
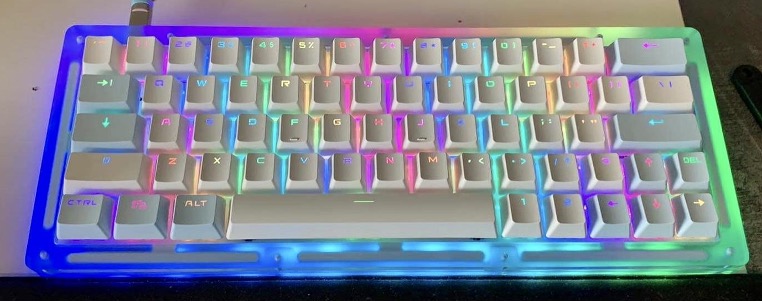
Keyboard: Akko ACR 64
Switches: EG Aqua King V3 Water King 55g
Keycaps: 104 Key Translucent PBT Keycaps
Wireless TKL Keyboard
Keyboard: Epomaker Skyloong GK87S
Switches: Gateron Yellow 50gf
Keycaps: ePBT Soju
Deskmat: ePBT Soju
 Keycaps: Blank Thick PBT OEM
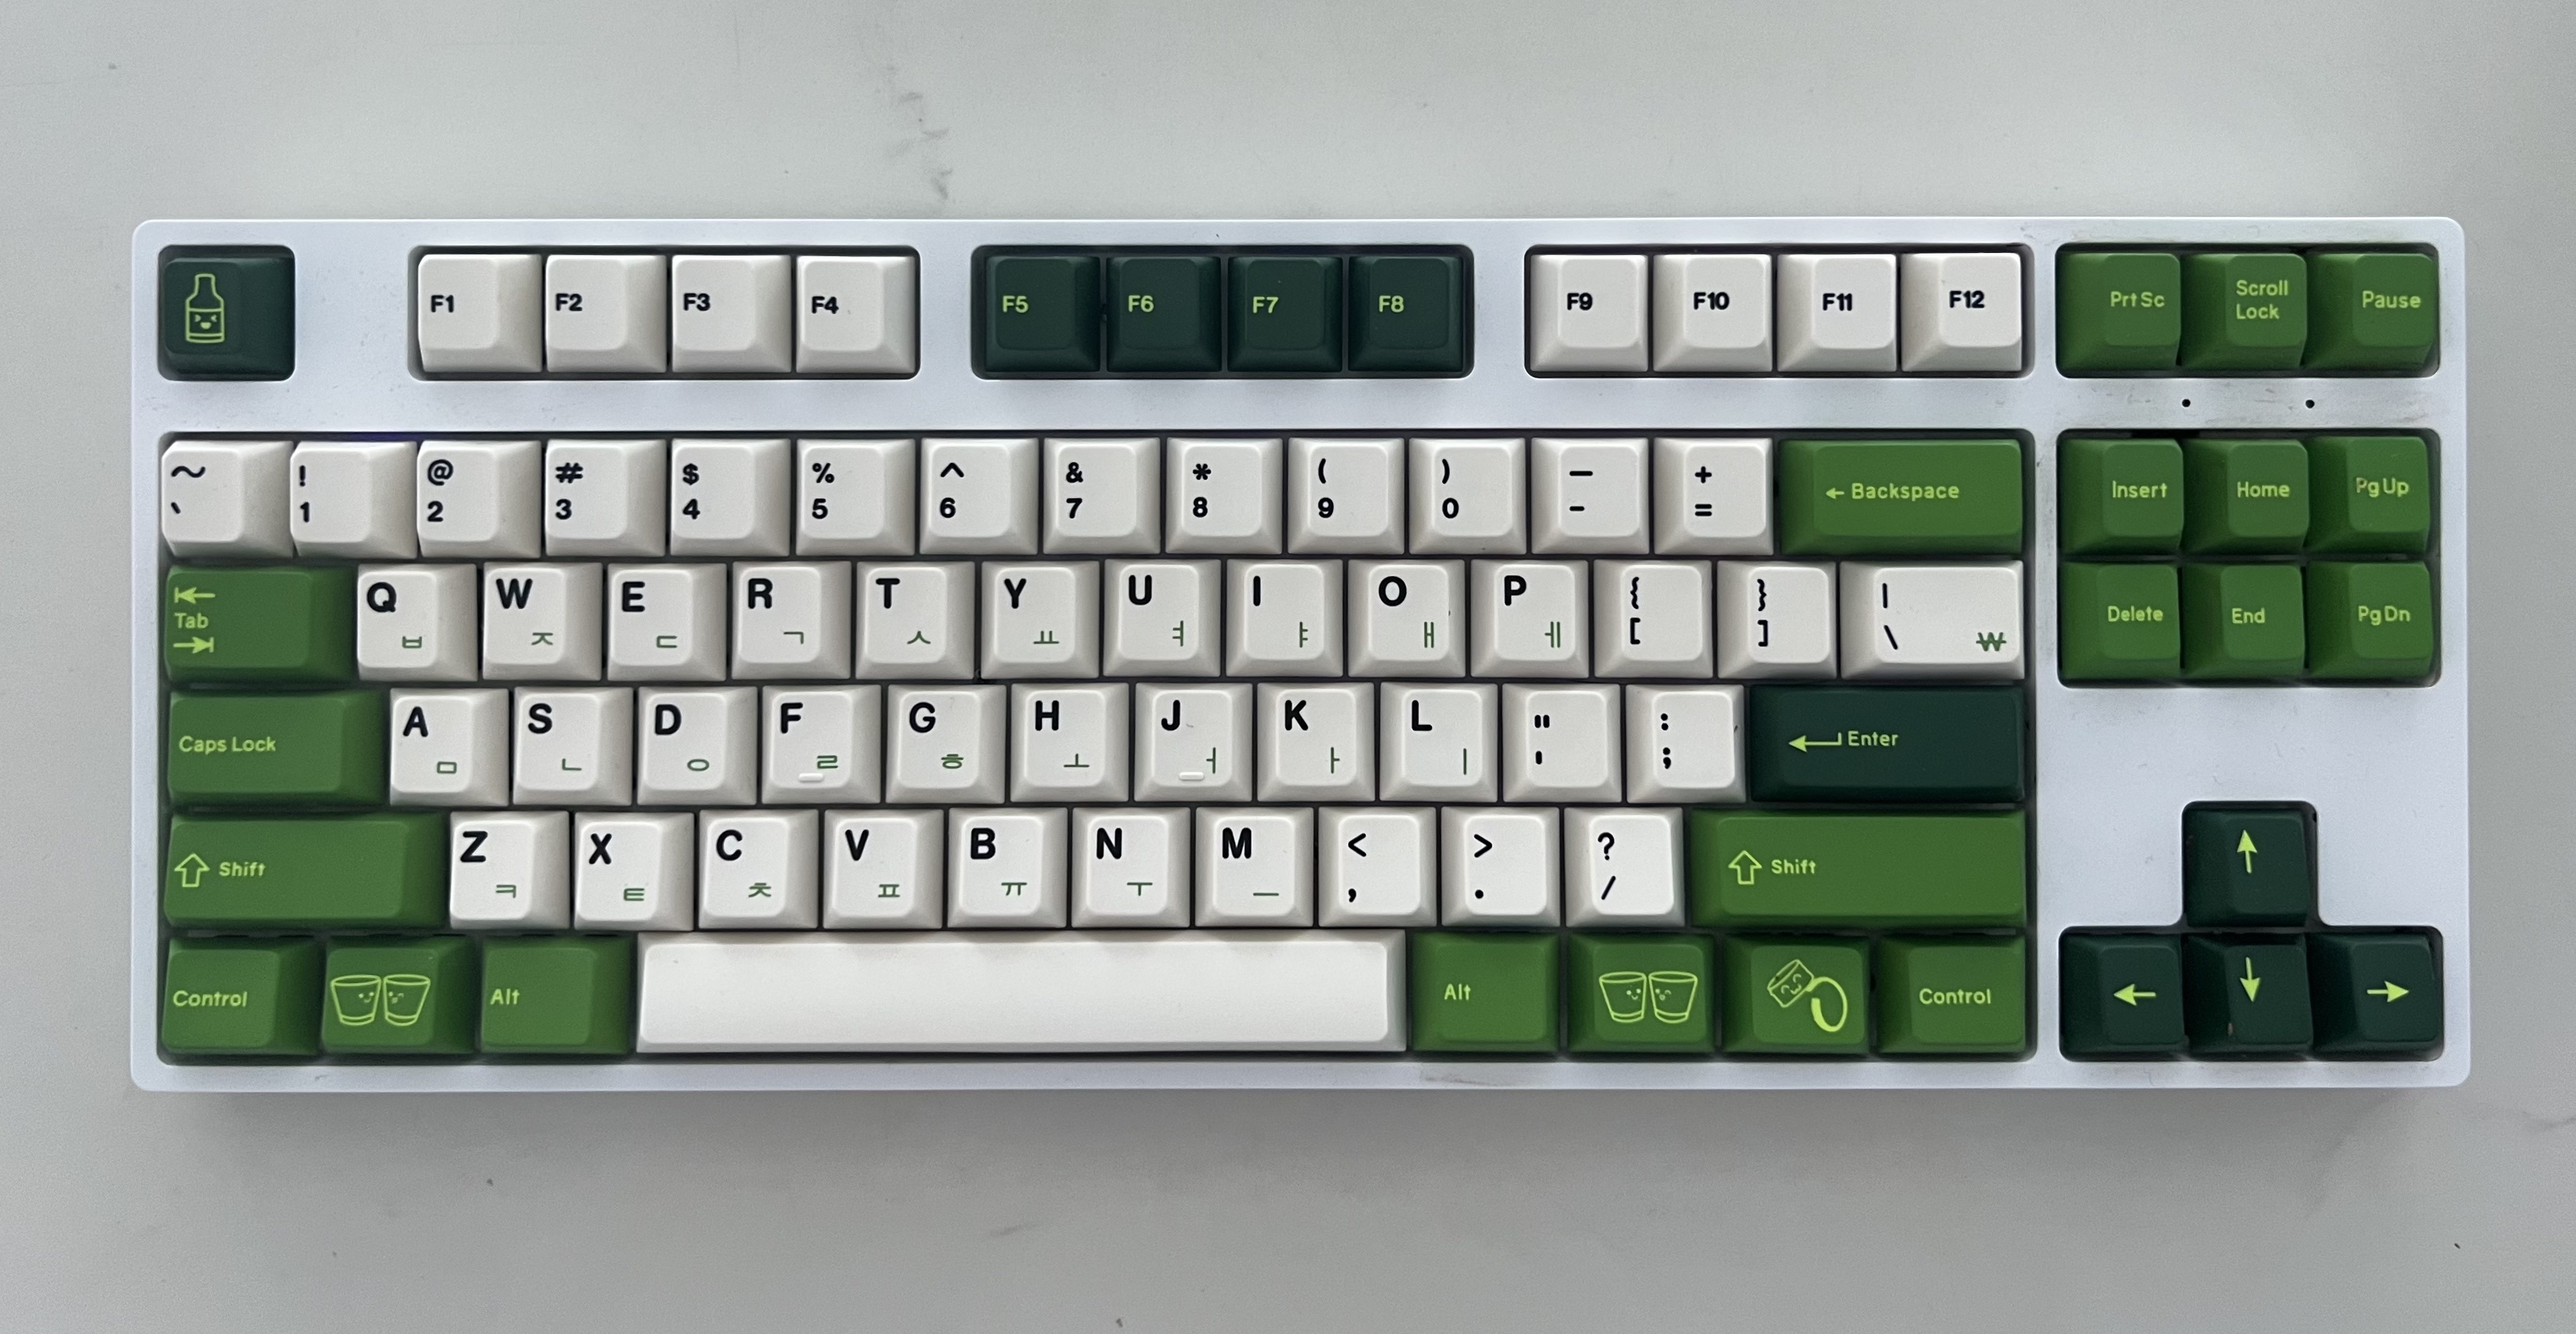
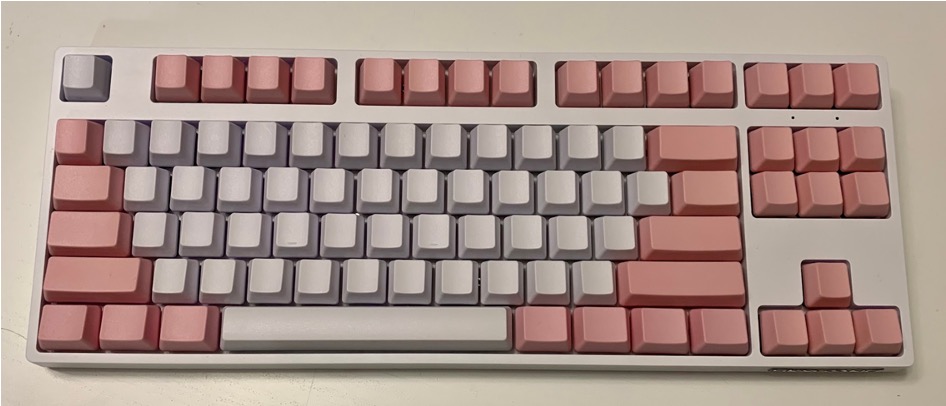
Original TKL Keyboard
Keyboard: XD87 TKL
Switches: Akko CS Matcha 50gf
Keycaps: Honey Milk PBT XDA